RLS Restriction on the Basis of WP Roles
This feature enables you to implement Row-Level Security (RLS) in Power BI by mapping WordPress roles to specific RLS roles. It ensures that users can only view the data in Power BI reports that align with their WordPress roles, adding a layer of security and customization to your embedded reports.
Why?
Managing data access for users with varying responsibilities can be challenging. This feature simplifies the process by:
- Dynamically restricting access to data in Power BI reports based on WordPress roles.
- Reducing the need for manual configuration of user-level data permissions.
- Providing seamless integration between your WordPress site and Power BI reports.
Solution
This feature automatically maps WordPress roles to predefined RLS roles in Power BI. When a user logs in and accesses the embedded report, their WordPress role is identified and matched to the corresponding RLS role. This ensures they can only view the data relevant to their role.
License Requirement
To enable this feature, you need the Enterprise version of the Power BI Embed Report Plugin by miniOrange.
How to Enable RLS Restriction?
Follow the below steps to Enable RLS Restriction Feature:
Step 1: Map WordPress Roles to RLS Roles in the Plugin
-
Go to the Power BI tab in the plugin.
-
Click on the
+button to create a new shortcode.
-
Enter the required details such as Report Name, Workspace ID, and Report ID.
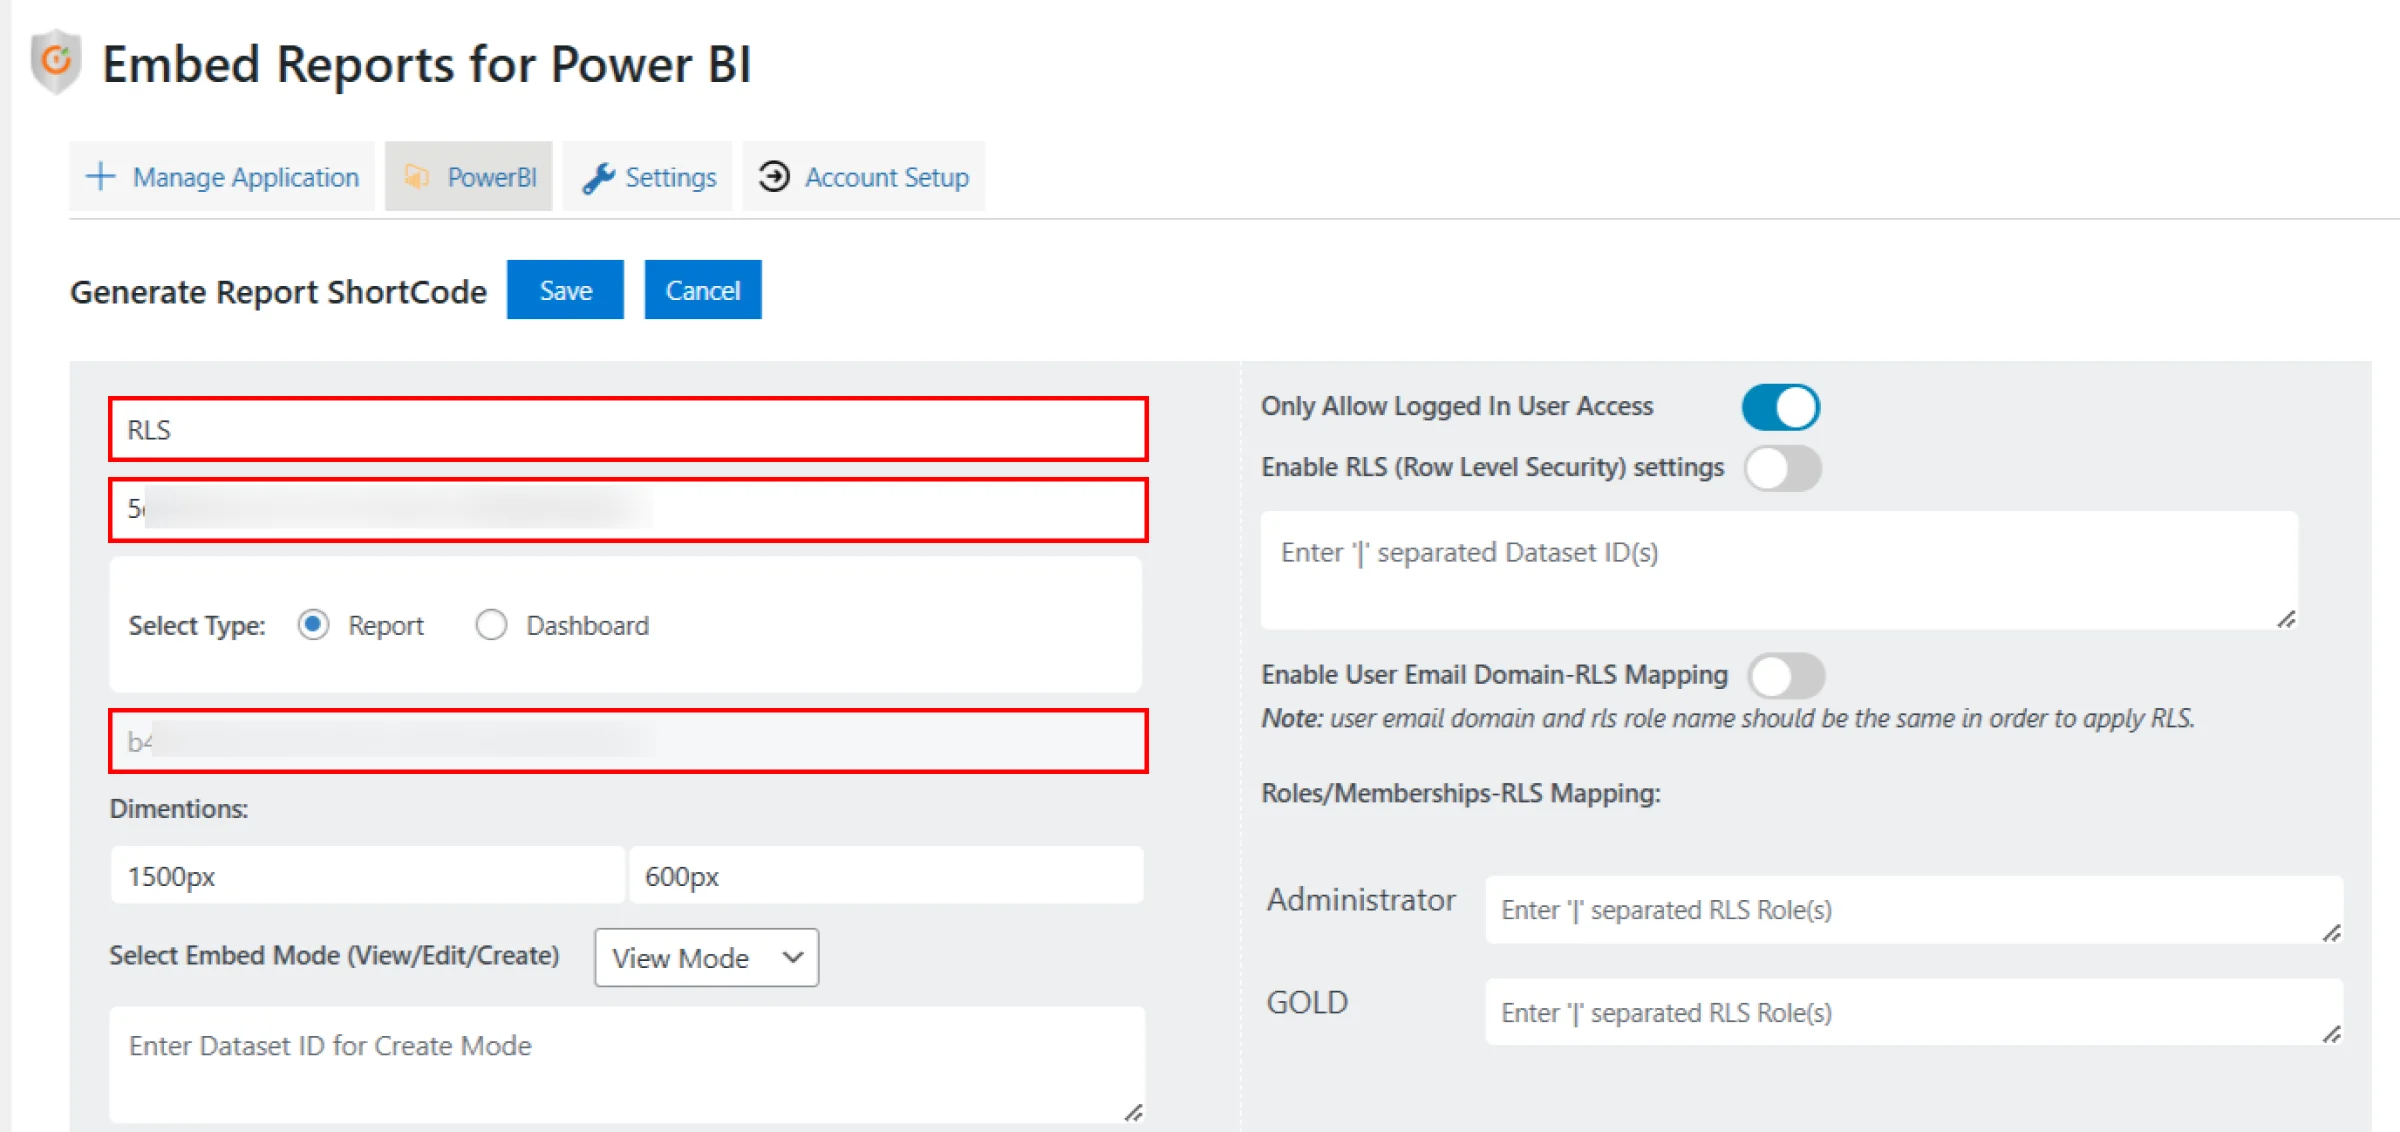
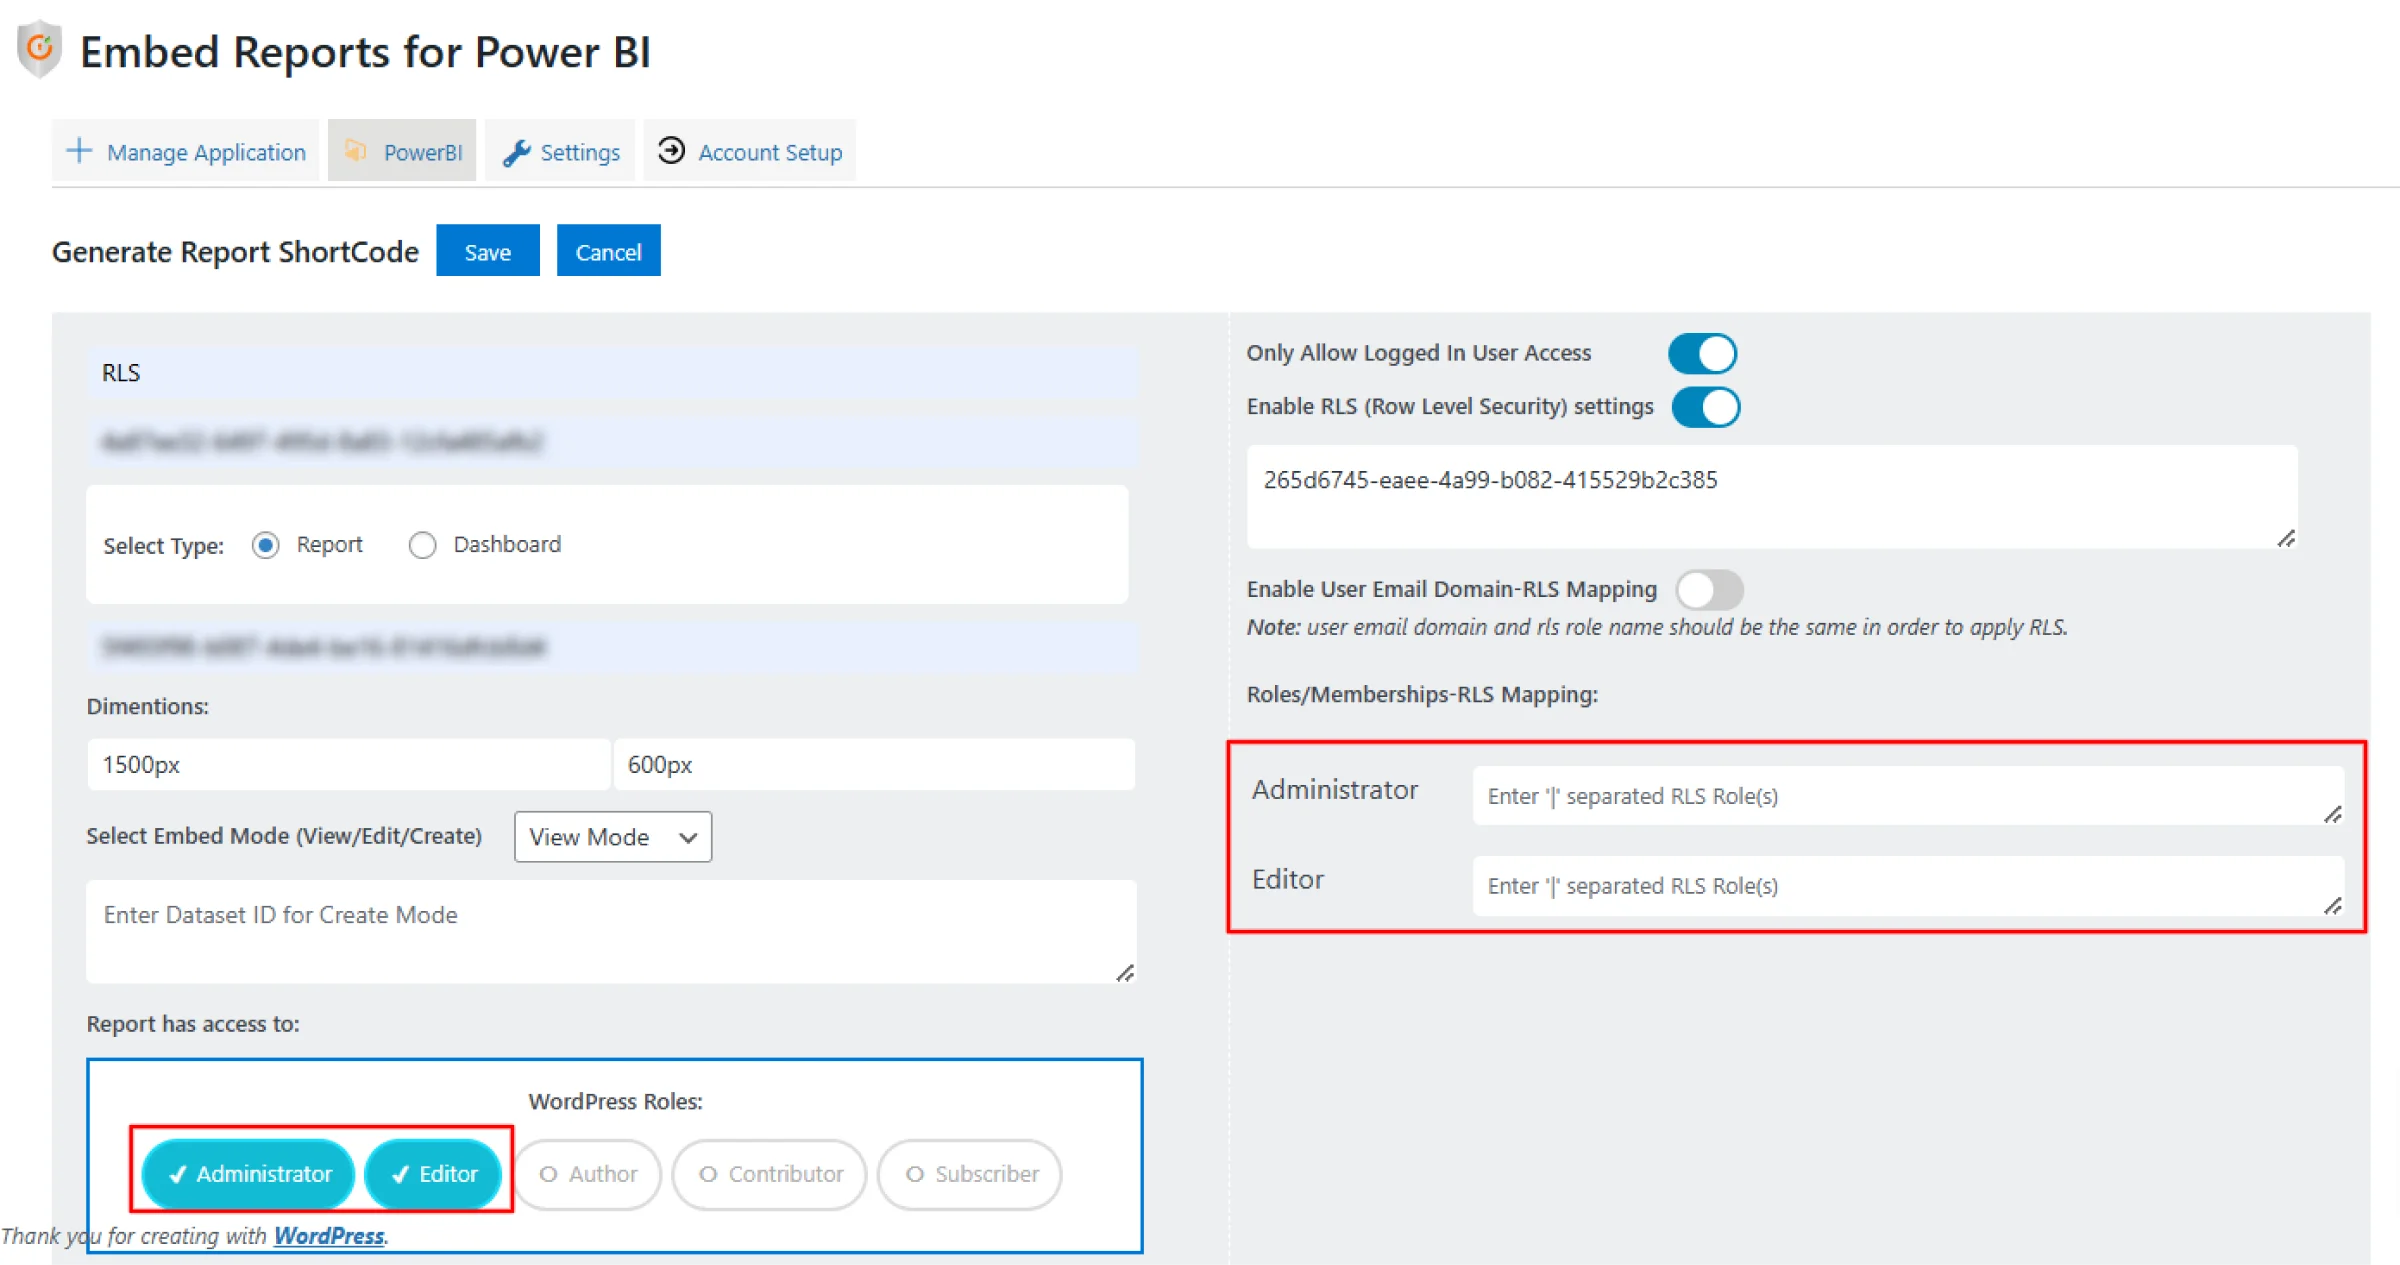
-
In the Report has access to the section, select the WordPress roles you want to map to specific RLS roles.

-
After selecting the roles, a field will appear under Roles/Memberships-RLS Mapping, allowing you to map the corresponding RLS roles.
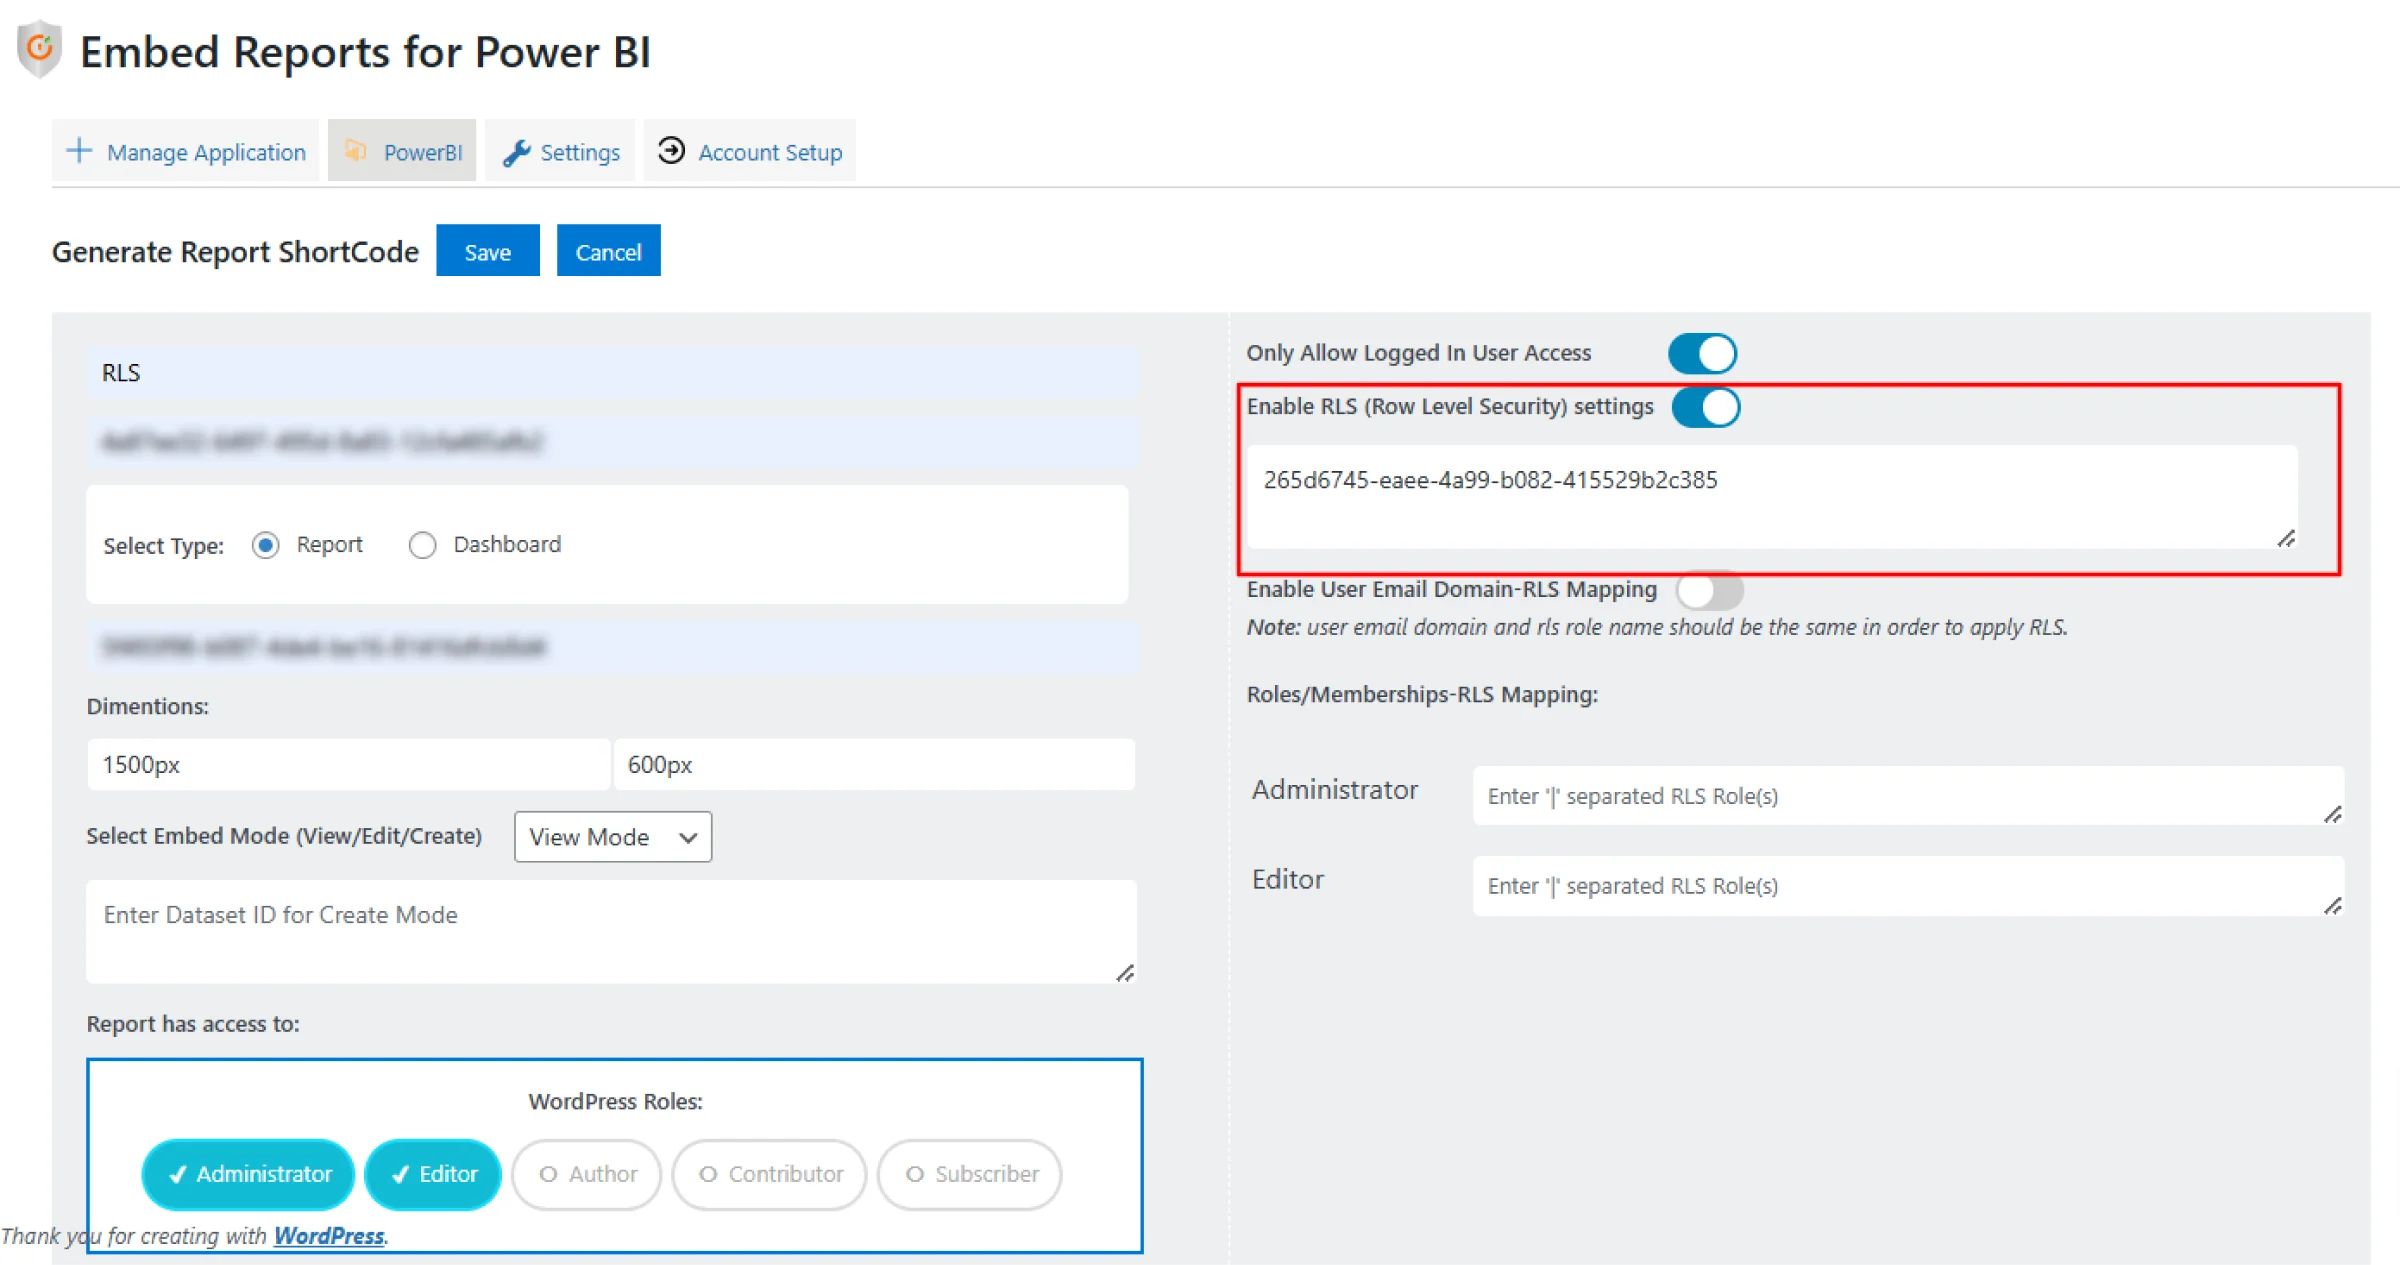
-
Enable RLS toggle and enter the Data Set ID.
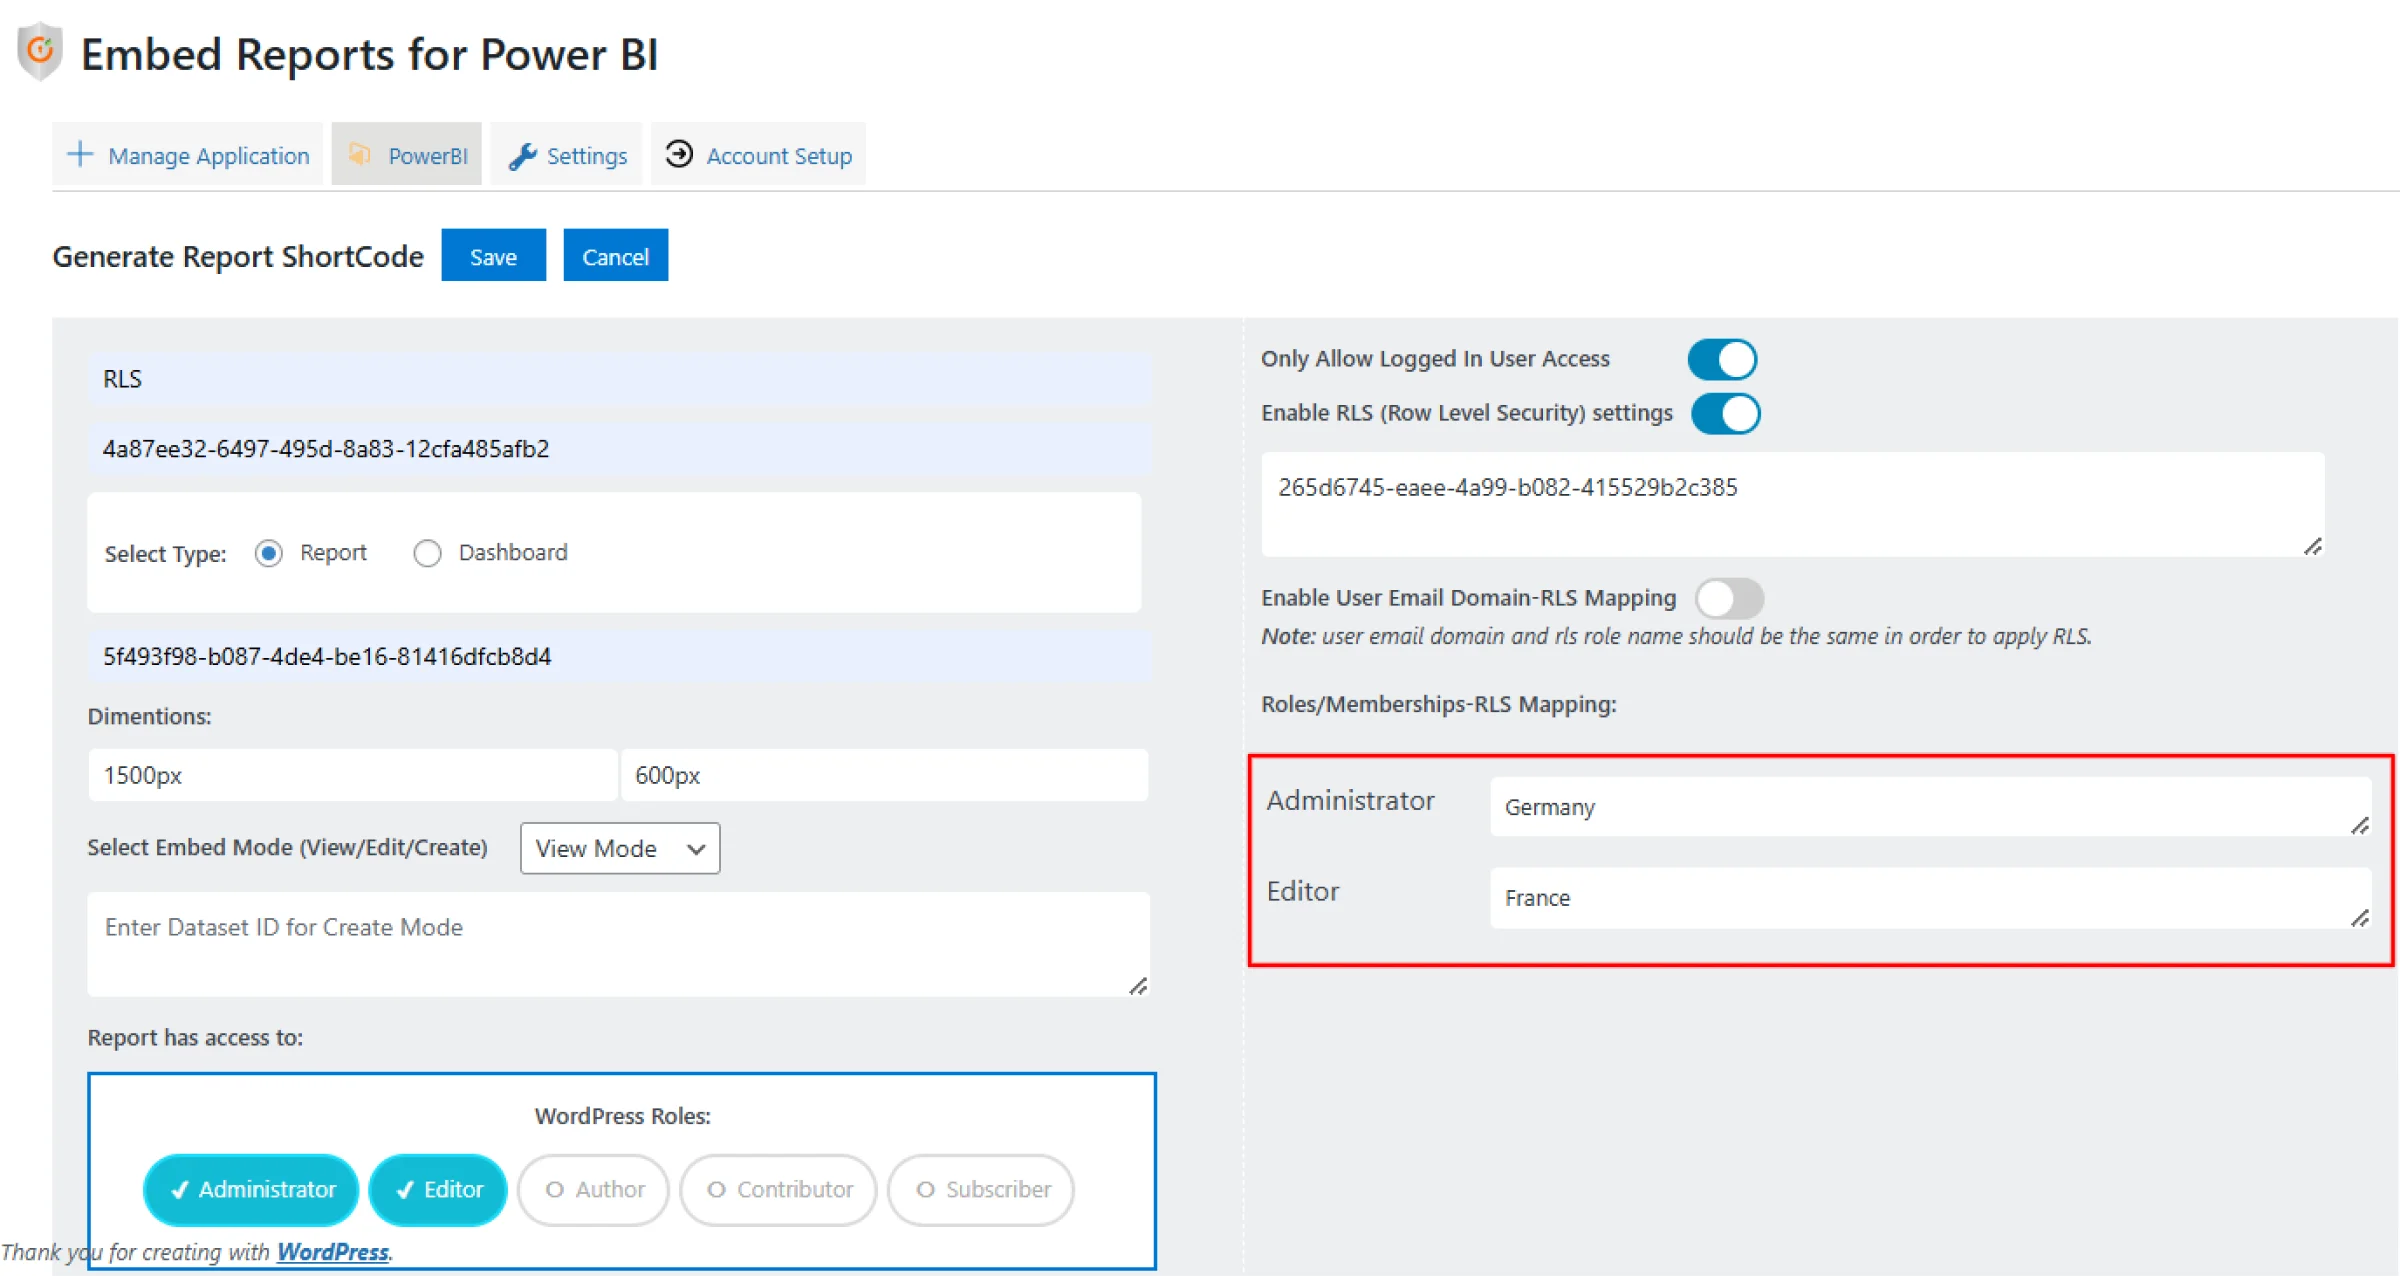
-
Finally, enter the corresponding RLS role for each WordPress role to complete the mapping.
Step 2: Embed the Shortcode on Your WordPress Site
-
Copy the generated shortcode and paste it into a WordPress page or post.
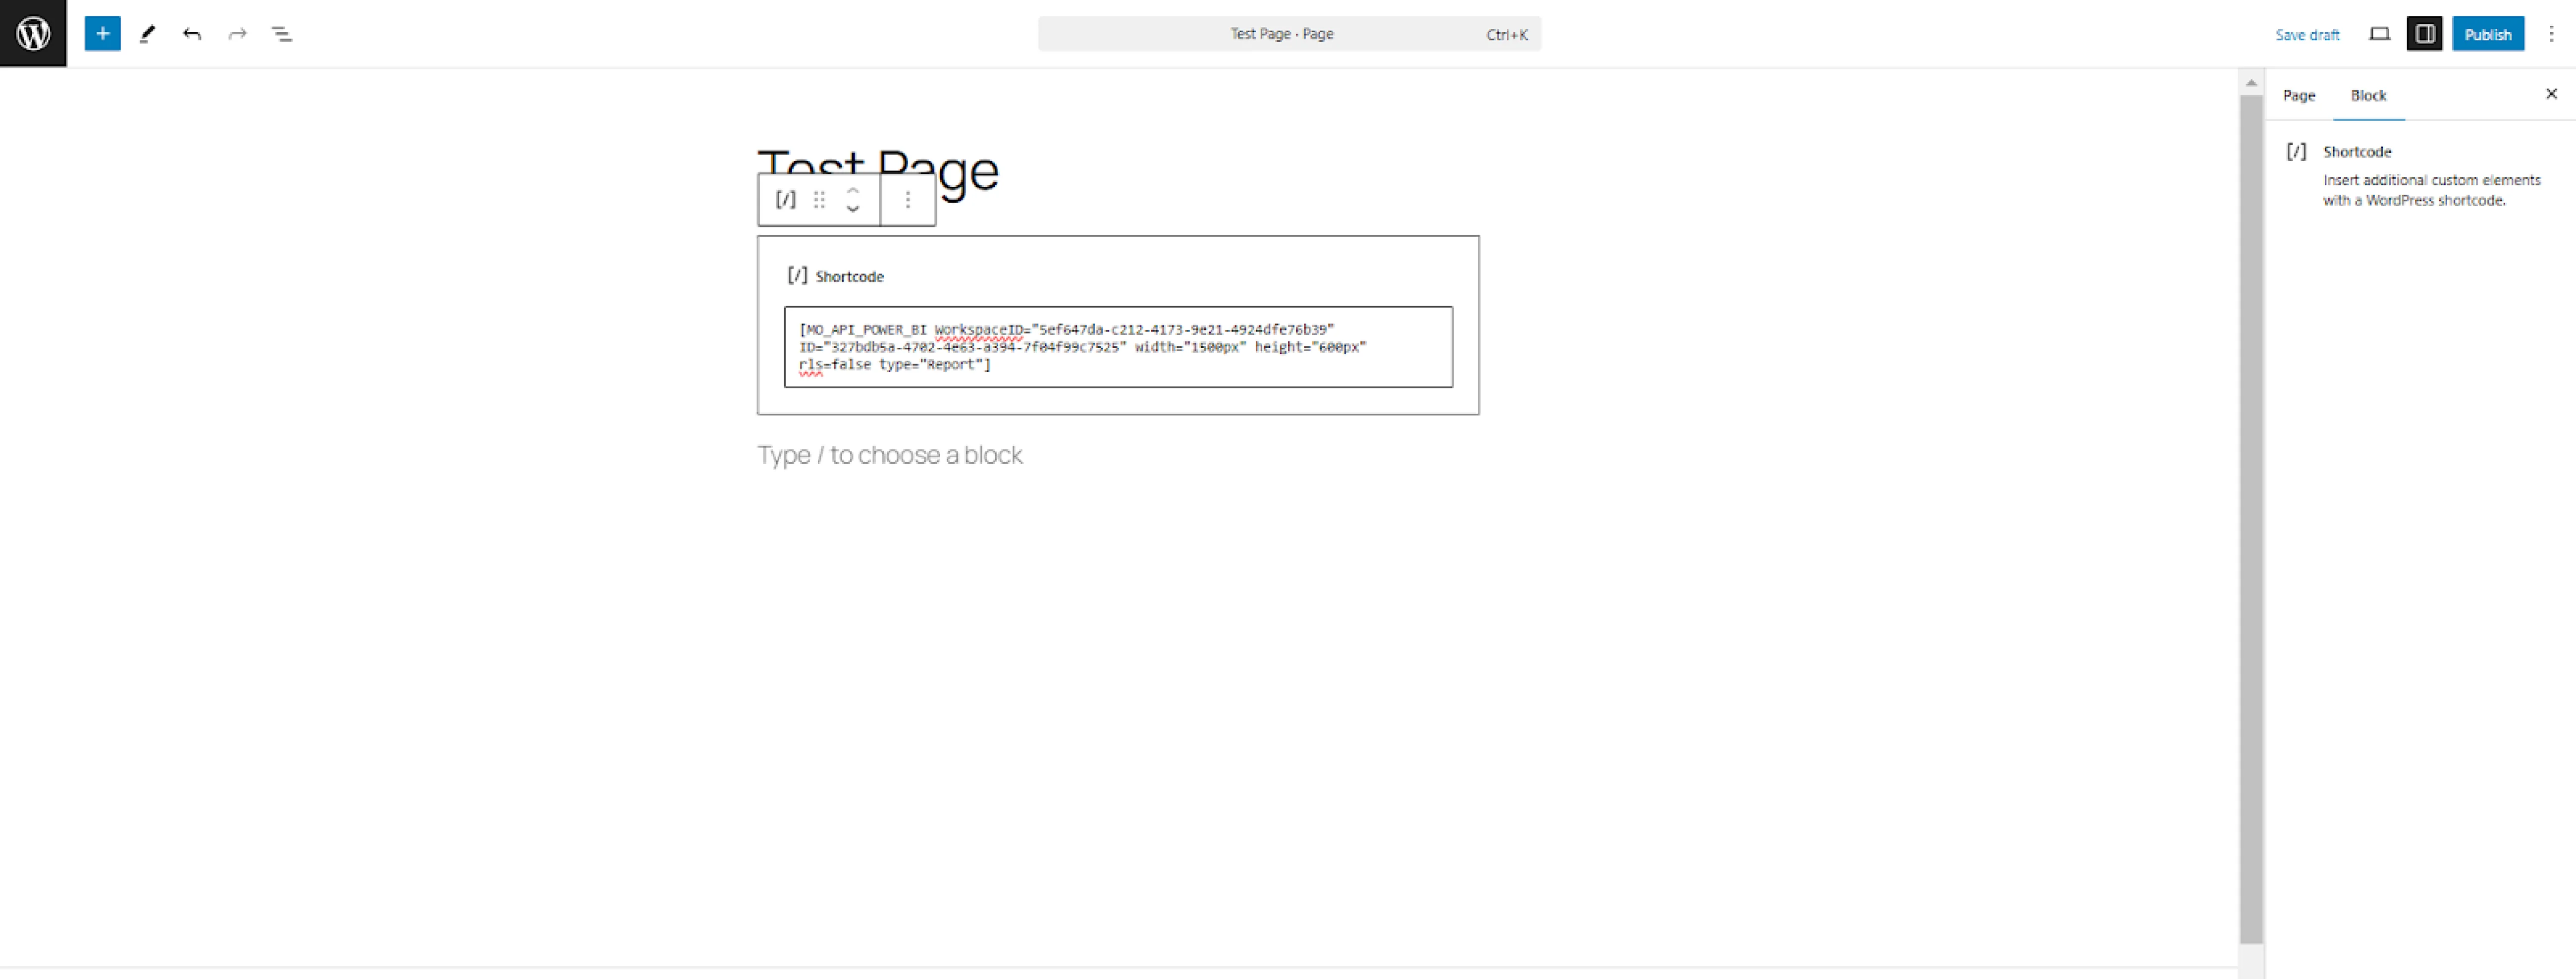
-
Publish the page or post.
Step 3: Verify Access
-
Log in as a user with a specific WordPress role.
-
Access the page with the embedded Power BI report.
-
Ensure that the data displayed aligns with the RLS role mapped to the user’s WordPress role.
You have now successfully enabled RLS restriction based on WordPress roles!
For more information visit our Embed Power BI Reports Plugin for WordPress page or mail us at office365support@xecurify.com.