Add a new Tenant for your Domain Name
Suppose you want your website or web application to be accessed from your domain instead of a custom Reverse Proxy URL, you can go to the Tenant Settings and make the necessary changes.
-
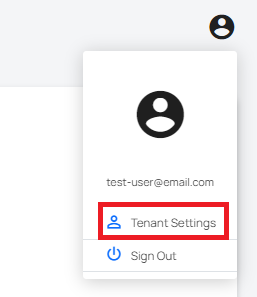
To use this feature, click on the User Icon in the top right corner.
-
Click on Tenant Settings.
-
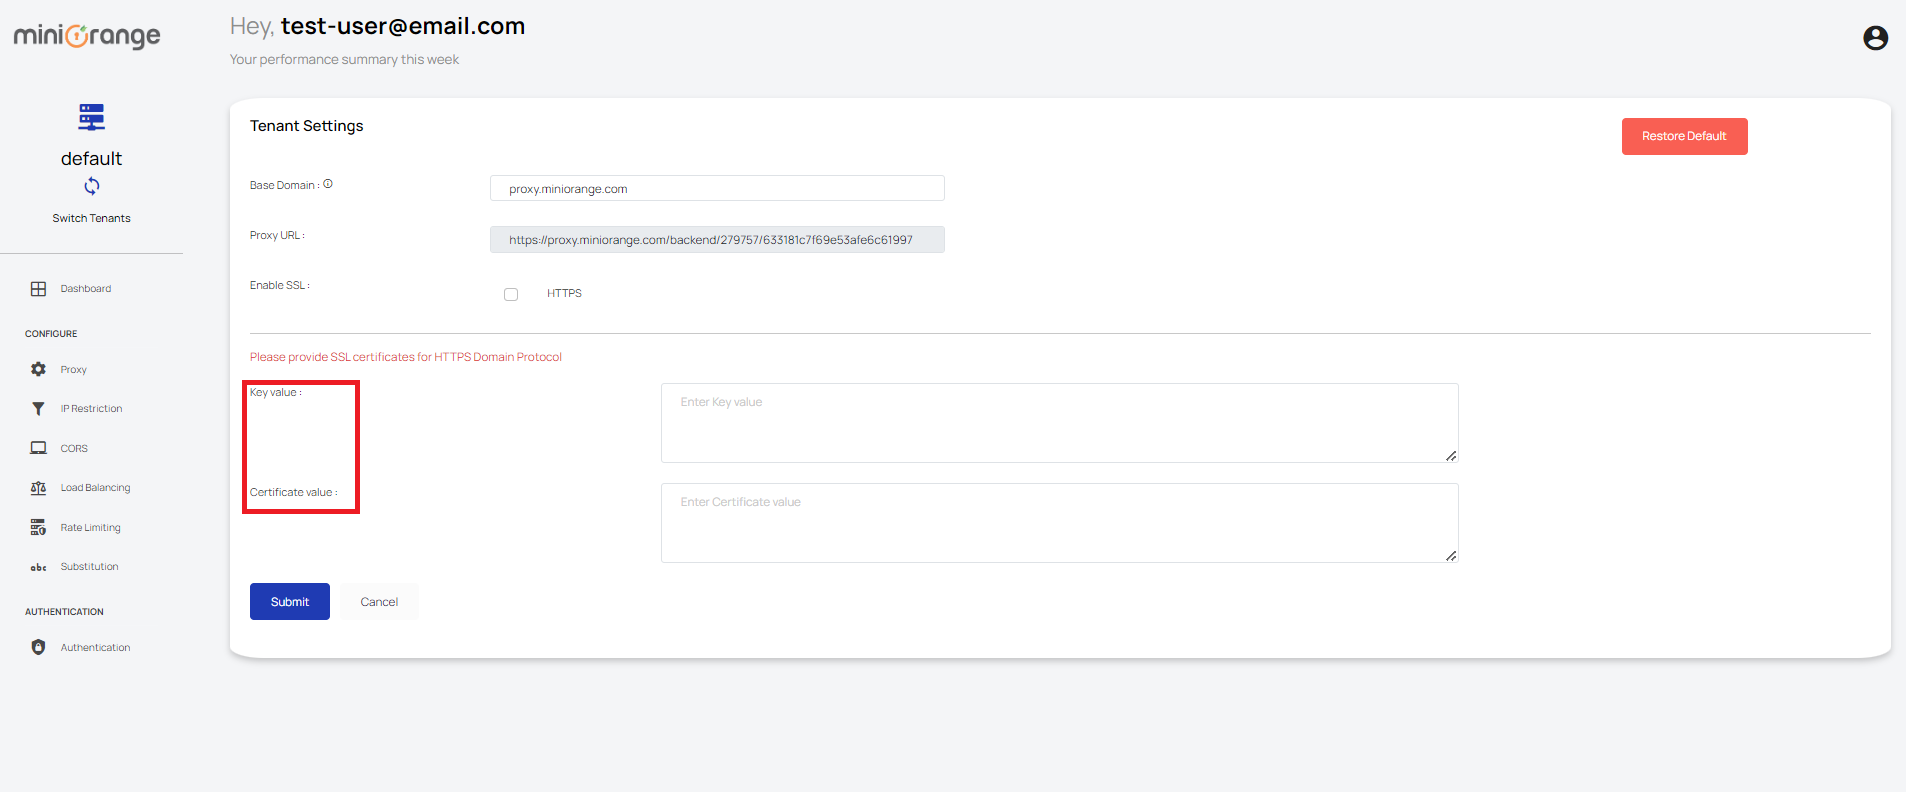
Add your Base Domain name.

-
In case you have SSL certificates, check the HTTPS checkbox and specify the Key Value and Certificate Value.
-
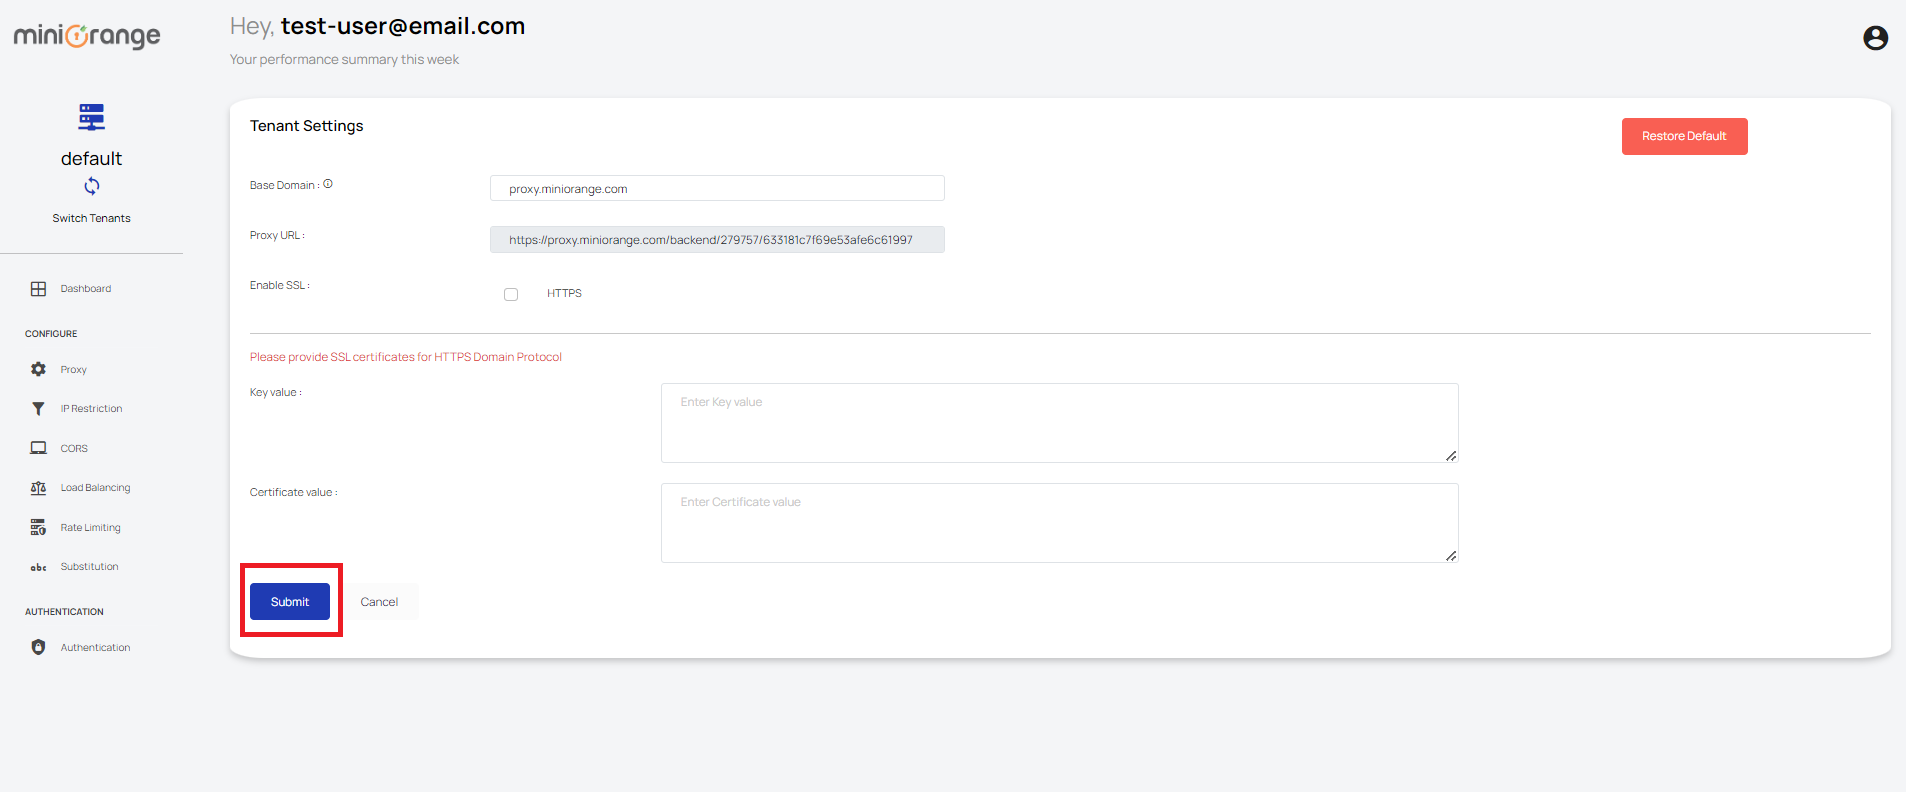
Click on “Submit” to save your changes.
-
You have successfully configured the custom domain for your proxies, under the tenant.
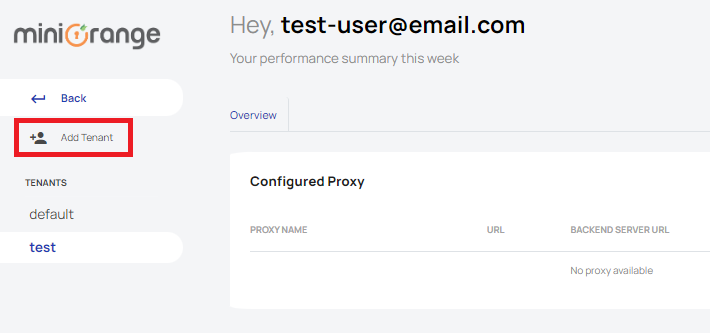
If you want to add a new tenant for a different domain with its custom rules, follow the below steps.
-
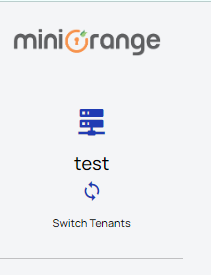
Click on the “Switch Tenants” section in the Top left corner.
-
Click on “Add Tenant”. Give it a suitable name and select that tenant.
You successfully created a new tenant for your new domain.