Shortcode for Login with Crypto Wallet button
- A shortcode allows you to do various things quickly and easily. WordPress posts, pages, and widgets make it possible to execute code without writing any code directly. You can easily customize your login button by using our shortcode.
1. How to use Shortcode?
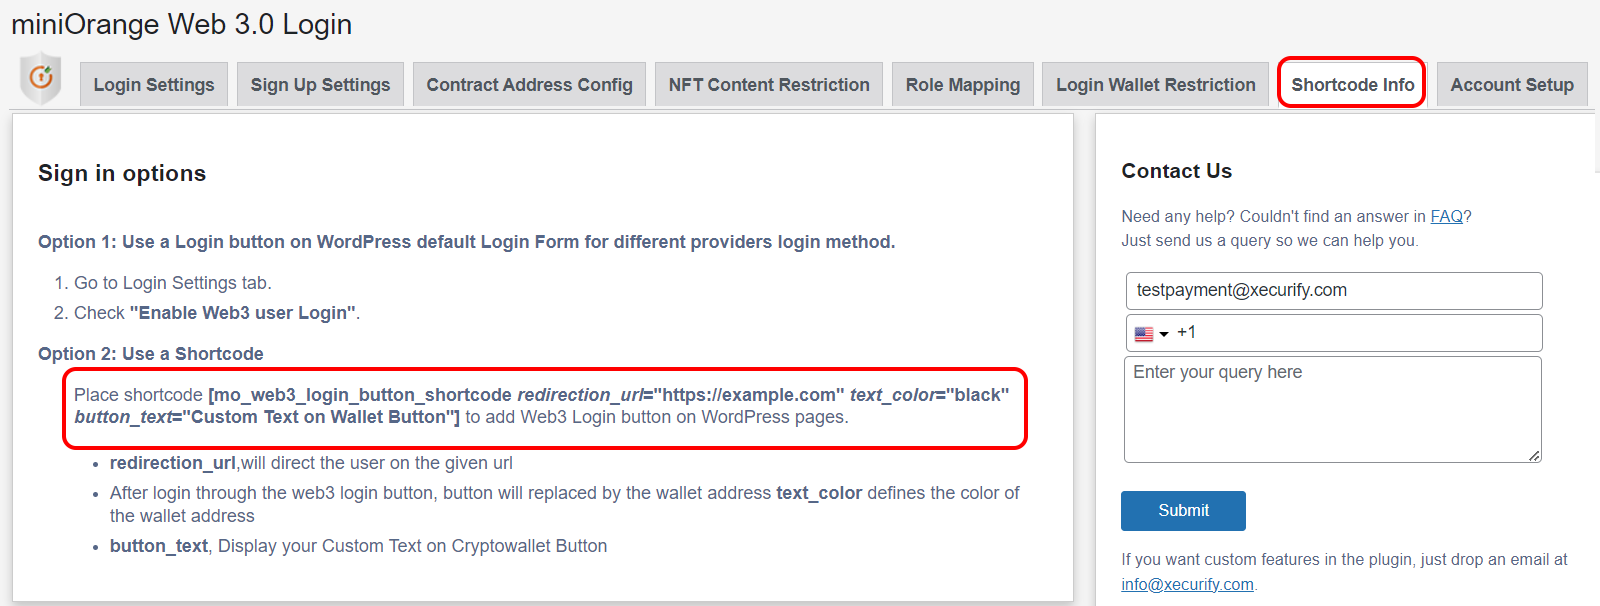
- You'll see this sortcode in the Shortcode Info tab in miniOrange Web3 Login Plugin. Keep this shortcode handy because you'll need it for the page.
-
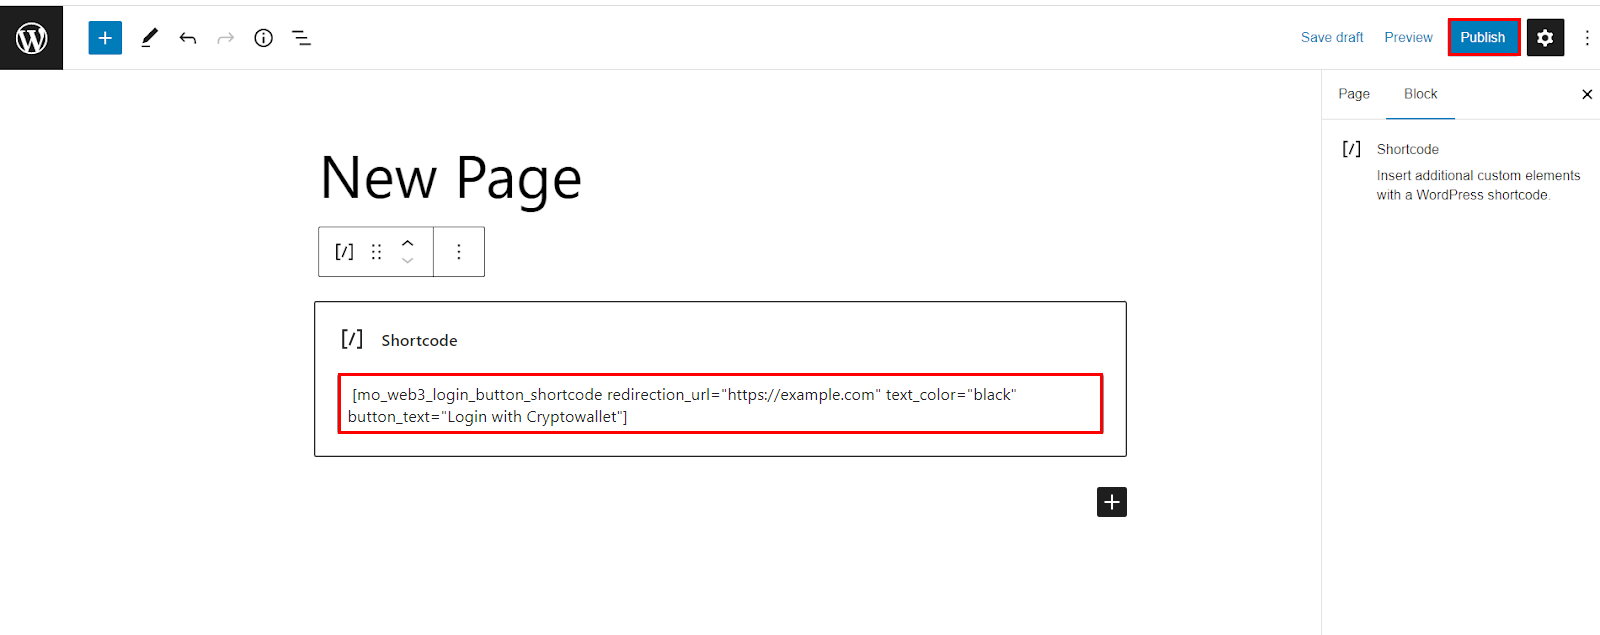
You can add the copied Shortcode to any page where you want a login button to appear and Publish the page.
-
Visit your page URL and you will see the login button for your page (see the image below).

Shortcode Parameters
-
Depending on your offerings, you can use parameters in your shortcode to customize the user experience.
The supported parameters are:
-
redirect_url: After users complete the configuration, you can use this option to redirect them to the given URL.
Usage:
[mo_web3_login_button_shortcode redirection_url="https://www.example.com/"] -
text_color: If you'd like, you can change your Cryptowallet Login button text.
Usage:
[mo_web3_login_button_shortcode text_color="Black"] -
button_text:
Usage:
[mo_web3_login_button_shortcode button_text="Login with Cryptowallet"]
-
(Note: You can use all the parameters while using the shortcode eg. [mo_web3_login_button_shortcode redirection_url="https://example.com" text_color="black" button_text="Login with Cryptowallet"] )
2. Disconnect Wallet Button Shortcode
By using the Disconnect Wallet Button shortcode, website owners can easily add a button or link to their interface that triggers the disconnection process. When a user clicks on the button, the connected wallet is immediately disconnected, terminating the session and clearing any sensitive data associated with it.
A) For Native WordPress Account (the user that logs in using username and password) :
When they click on Disconnect Wallet their linked wallet gets disconnected and they can connect their wallet.
B) For Crypto Account ( Users who have wallet address as username )
When they click on Disconnect Wallet they get logged out and can log in to another account.
2.1 How to setup Disconnect Wallet Button Shortcode
-
Go to the Shortcode info tab of the miniOrange Web3 Login plugin, and scroll to the Sign Out Options.
-
Copy the shortcode
[mo_web3_disconnect_wallet]for the Disconnect button.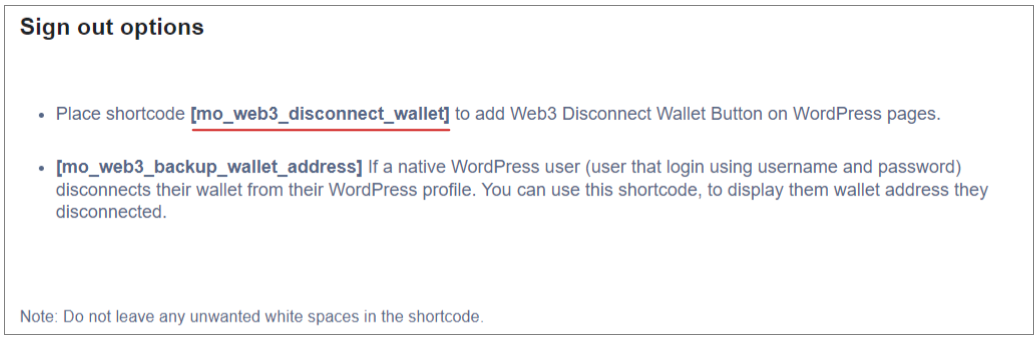
-
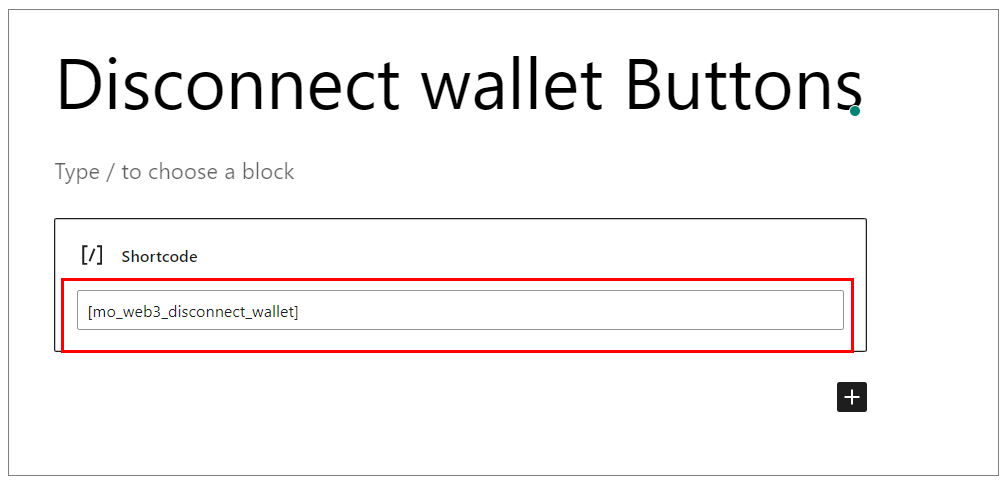
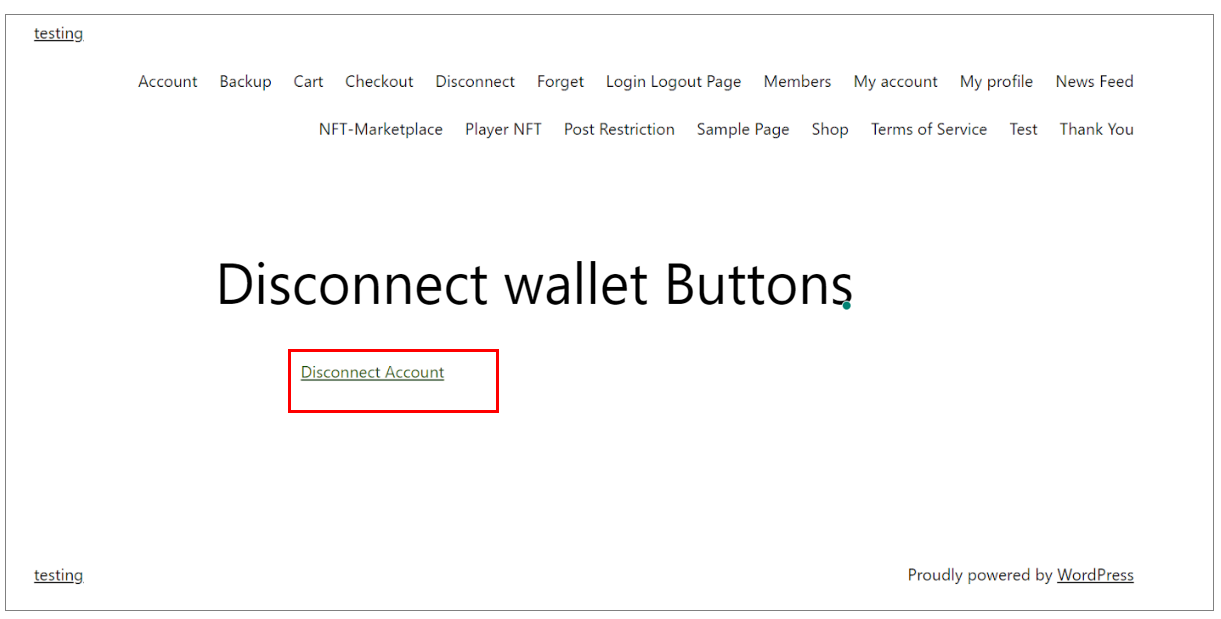
Place this on the page where you need to disconnect the button and click on Publish/Update button to publish the page.
-
Visit your page URL and you will see the Disconnect button for your page (see the image below).
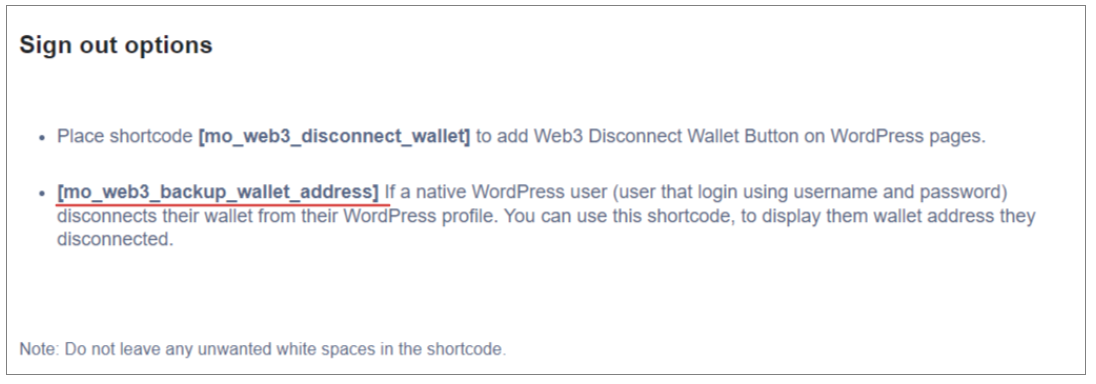
2.2 Back-Up Wallet Address
If a native WordPress user (the user that logs in using username and password) disconnects their wallet from their WordPress profile. You can use this shortcode, to display the wallet address they disconnected.
-
Copy the shortcode
[mo_web3_backup_wallet_address]for the backup wallet address.
-
Place this on the Page where the disconnect wallet button is placed or where you need to display the disconnected wallet and click on Publish/Update button.
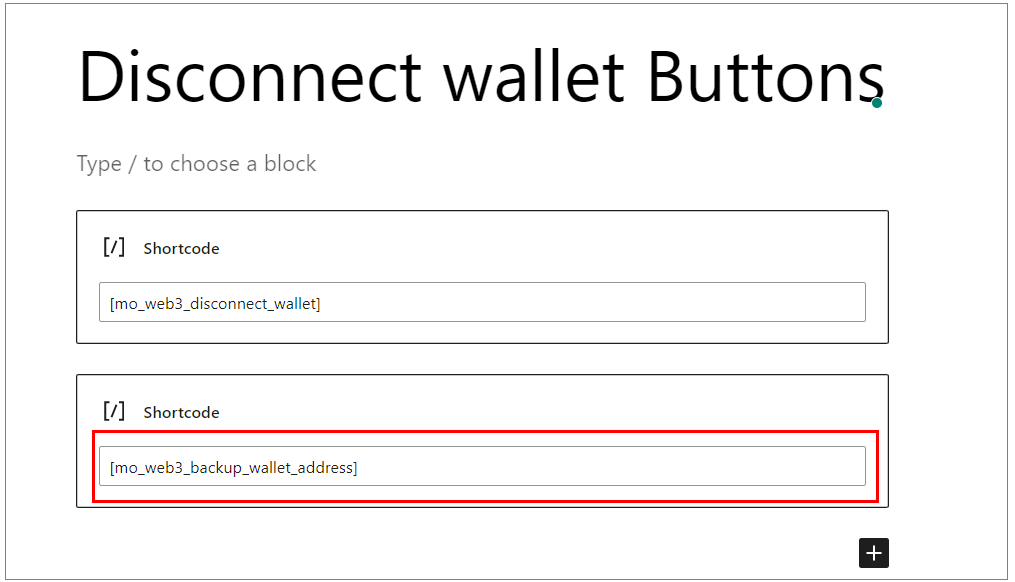
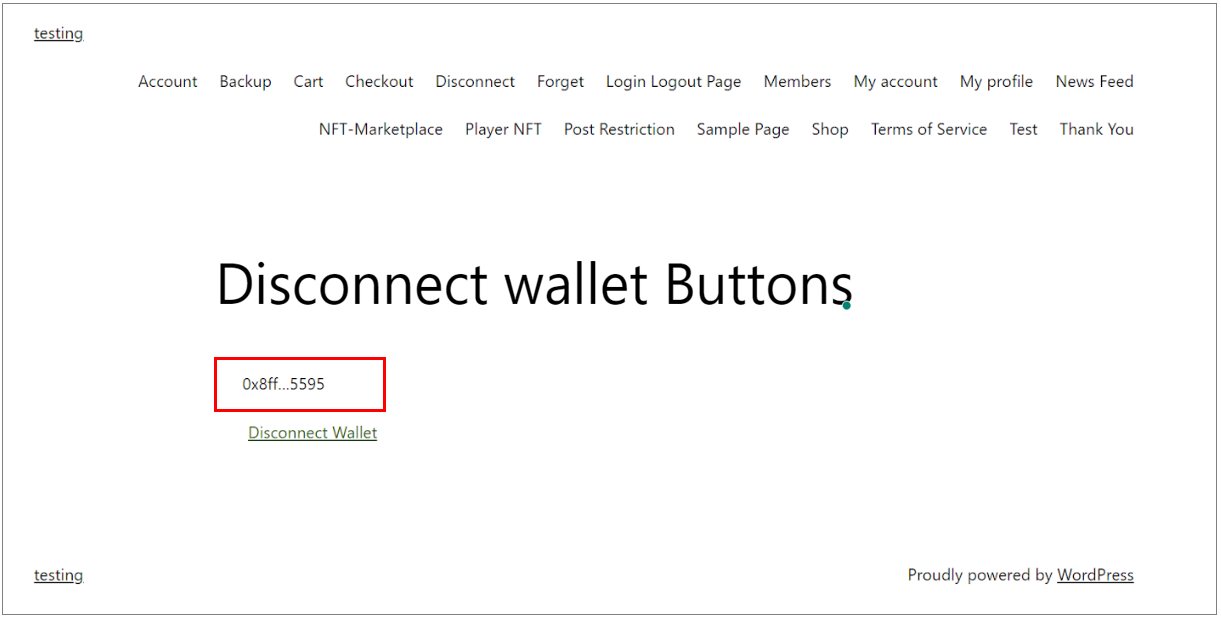
-
Visit your page URL and you will see the Backup wallet button for your page (see the image below).
3. Partial Page/Post Token Gating
This feature will allow users to selectively display or hide webpages or blog posts.
-
Go to the Shortcode info tab of the miniOrange Web3 Login plugin, and scroll to the Partial Page/Post Token Gating section.
-
Keep the start shortcode
[mo_web3_post_restriction_shortcode contract_address_name="contract-address-name-1,contract-address-name-2"]and end shortcode[/mo_web3_post_restriction_shortcode]handy, it will need for the page.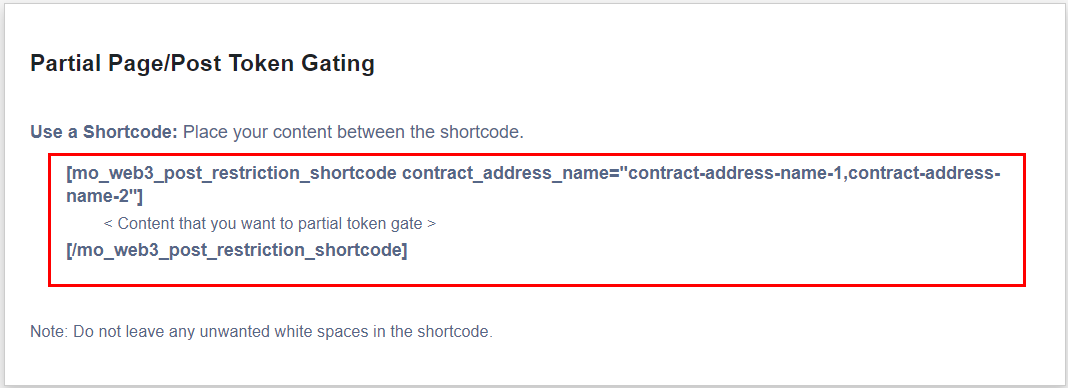
-
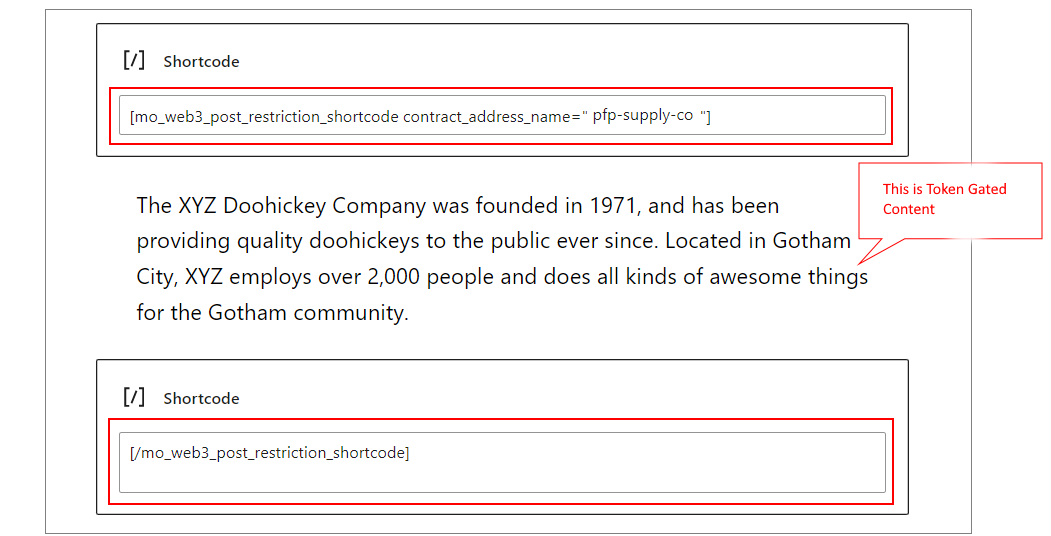
You will now need to paste both shortcodes into your page as shown below (You can add multiple contract address name (Eg. Here contract address name is pfp-supply-co) by comma separated). And click on publish button.
-
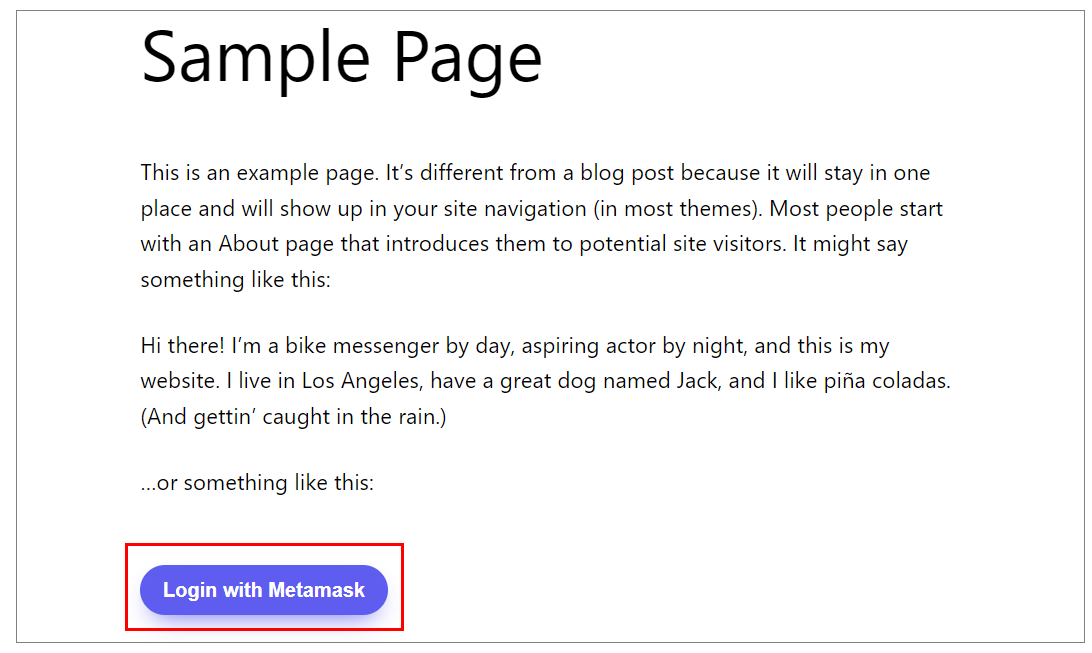
As a result, whenever a user visits your page, they will be shown the cryptowallet login button instead of the token gated content.
Contact us : If you have any questions, please email us at web3@xecurify.com