Firewall Setup
Web Application Firewall protects your site from various cyber attacks.
It keeps monitoring traffic coming to your site. From this traffic only legitimate requests are allowed to access your site.
How to Setup Firewall?
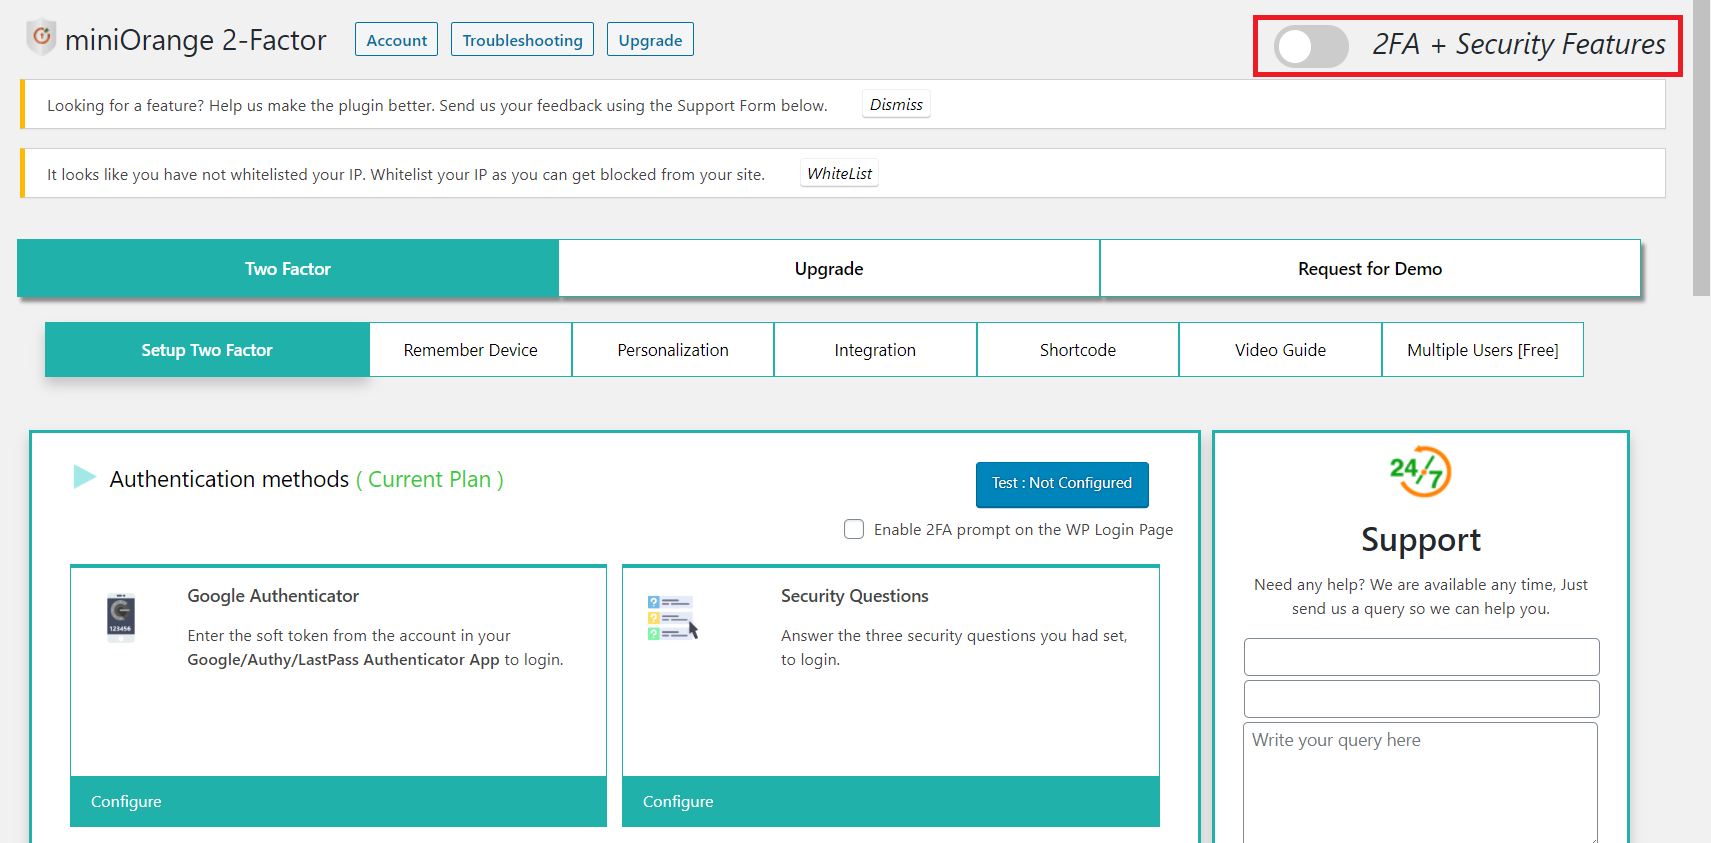
Enable Security
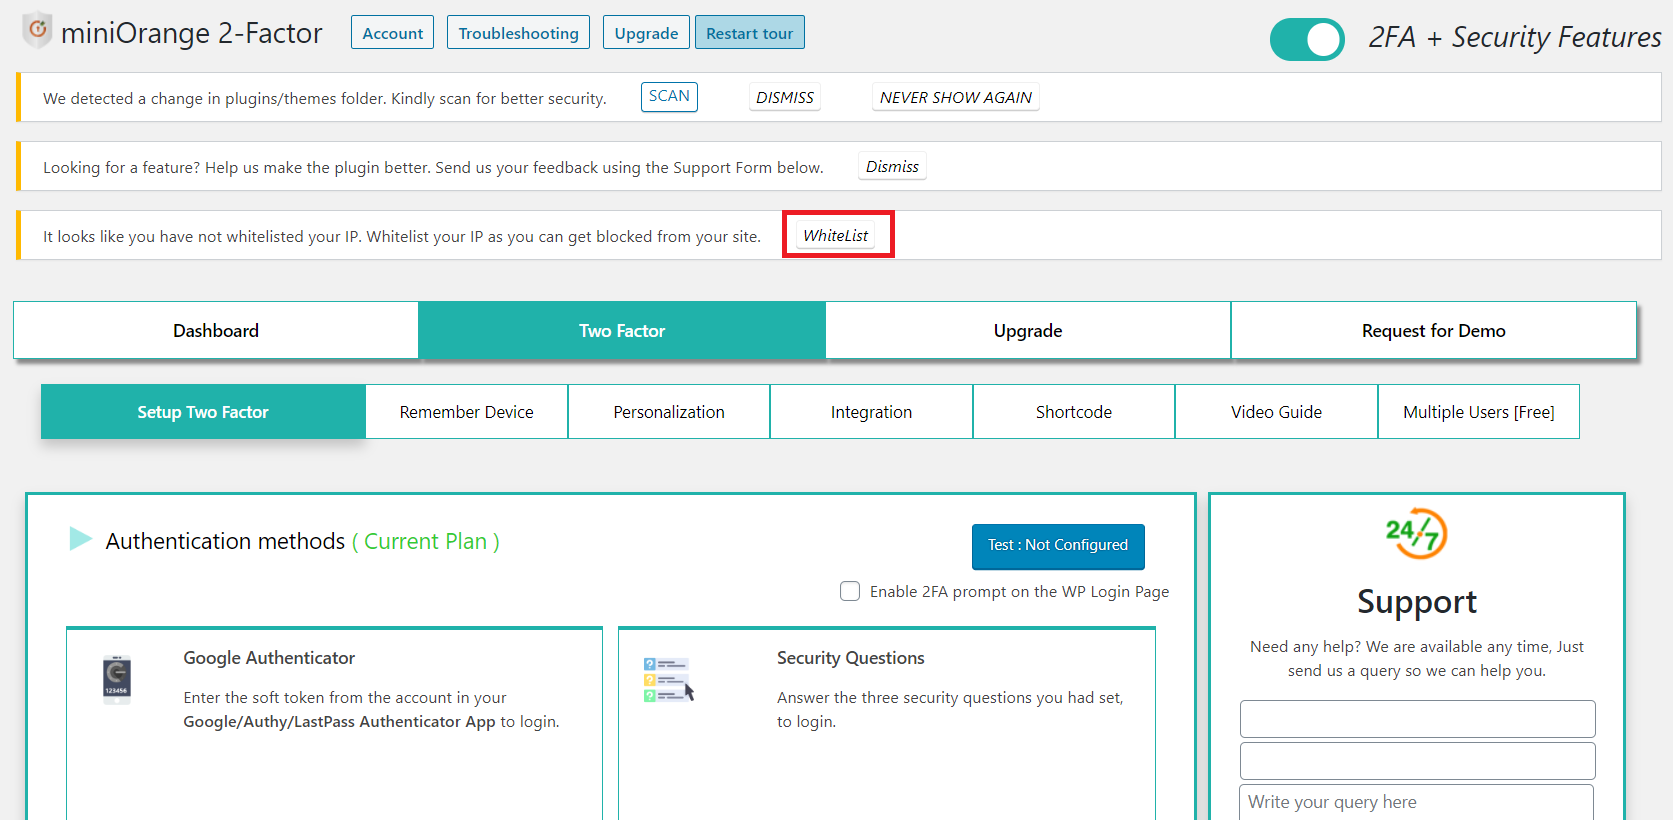
If security features are disabled then click on the 2FA + Security Feature option from the right side corner.
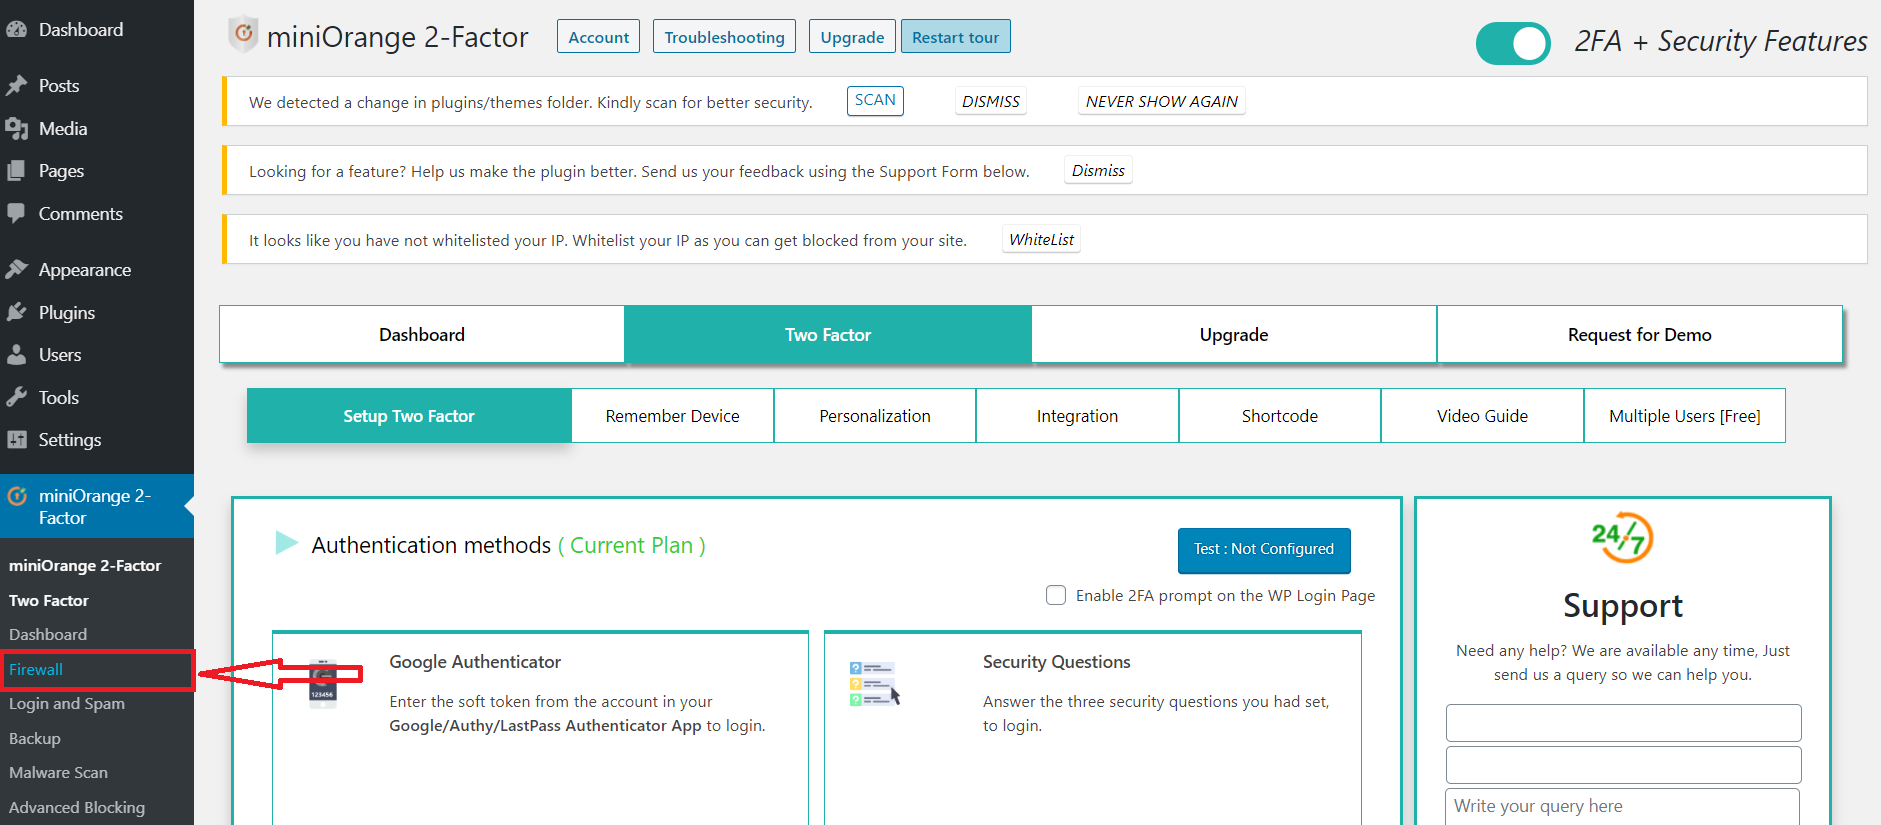
Enable Firewall
Click on the Firewall from the side menu.
Firewall Level
-
Select WAF Level
1.1 Click on the Firewall tab >> Settings tab.
1.2 Select Plugin Level WAF
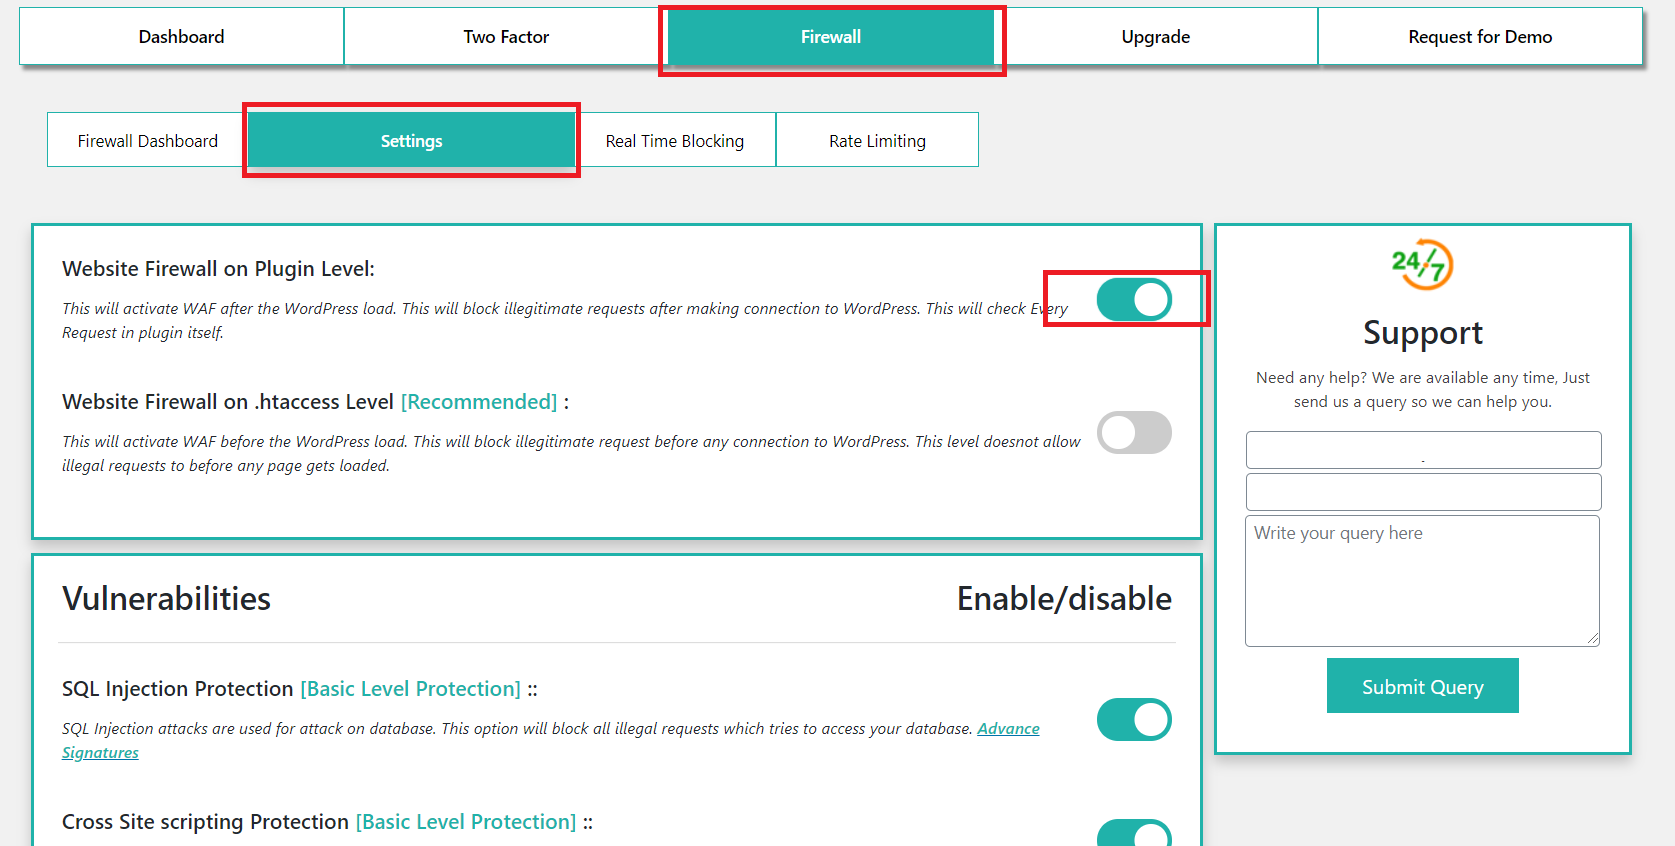
OR
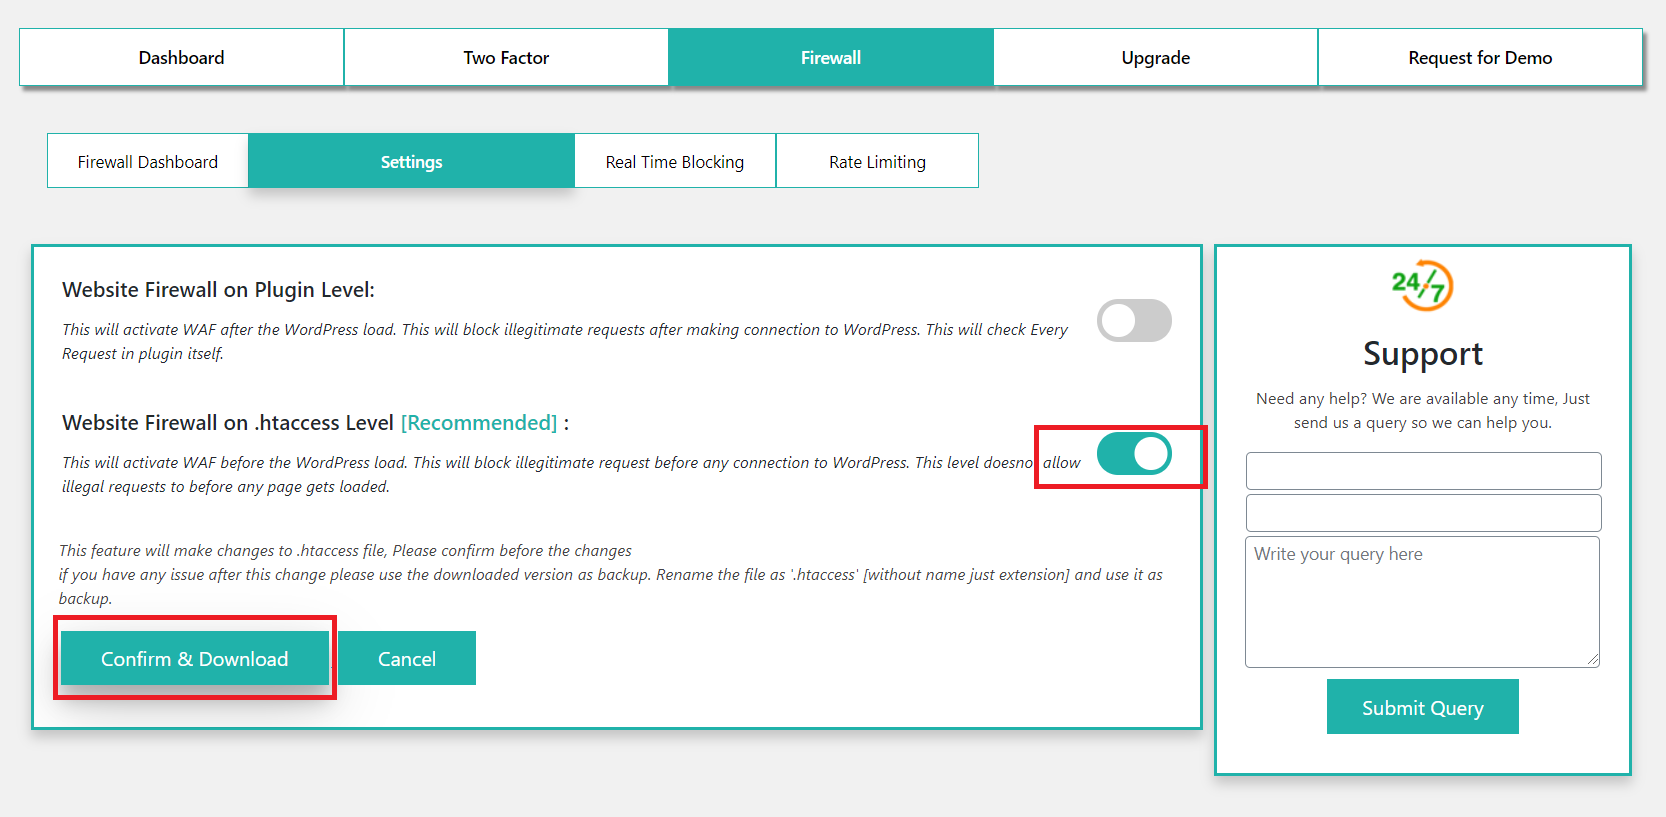
Select Server Level WAF and click on Confirm & Download.
Note: Take a backup of htaccess. It will be needed if you need to go back to your old settings.
Once you enable WAF below options sets by default
- Cross Site Scripting (XSS)
- SQL Injection prevention
- Attack Limit sets to 10.
If an IP continuously attacks your site more than 10 times then that IP gets blocked.
Advance Firewall
Whitelist your IP
Vulnerability Protection
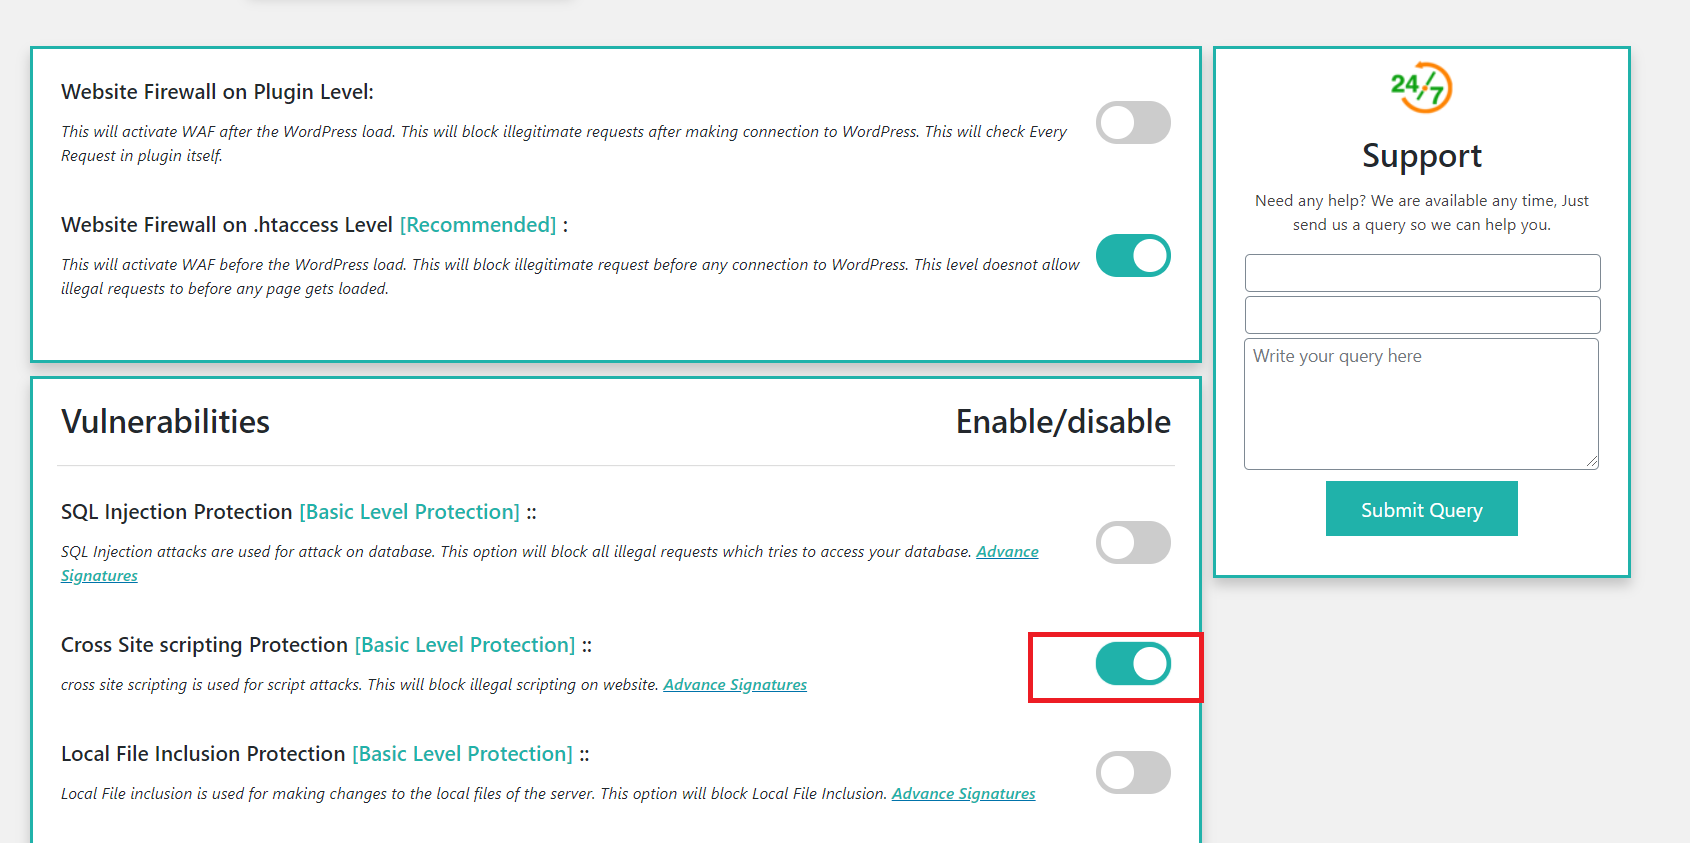
Cross-Site Scripting (XSS) Protection
From the plugin Dashboard go to the Firewall >> Settings and enable cross-site scripting protection from the vulnerabilities option.
Malicious scripts are injected into the site. This can lead to leak sensitive data of users. miniOrange uses cross-site scripting (XSS) signatures to filter out XSS attacks. Requests matching these signatures will be blocked.
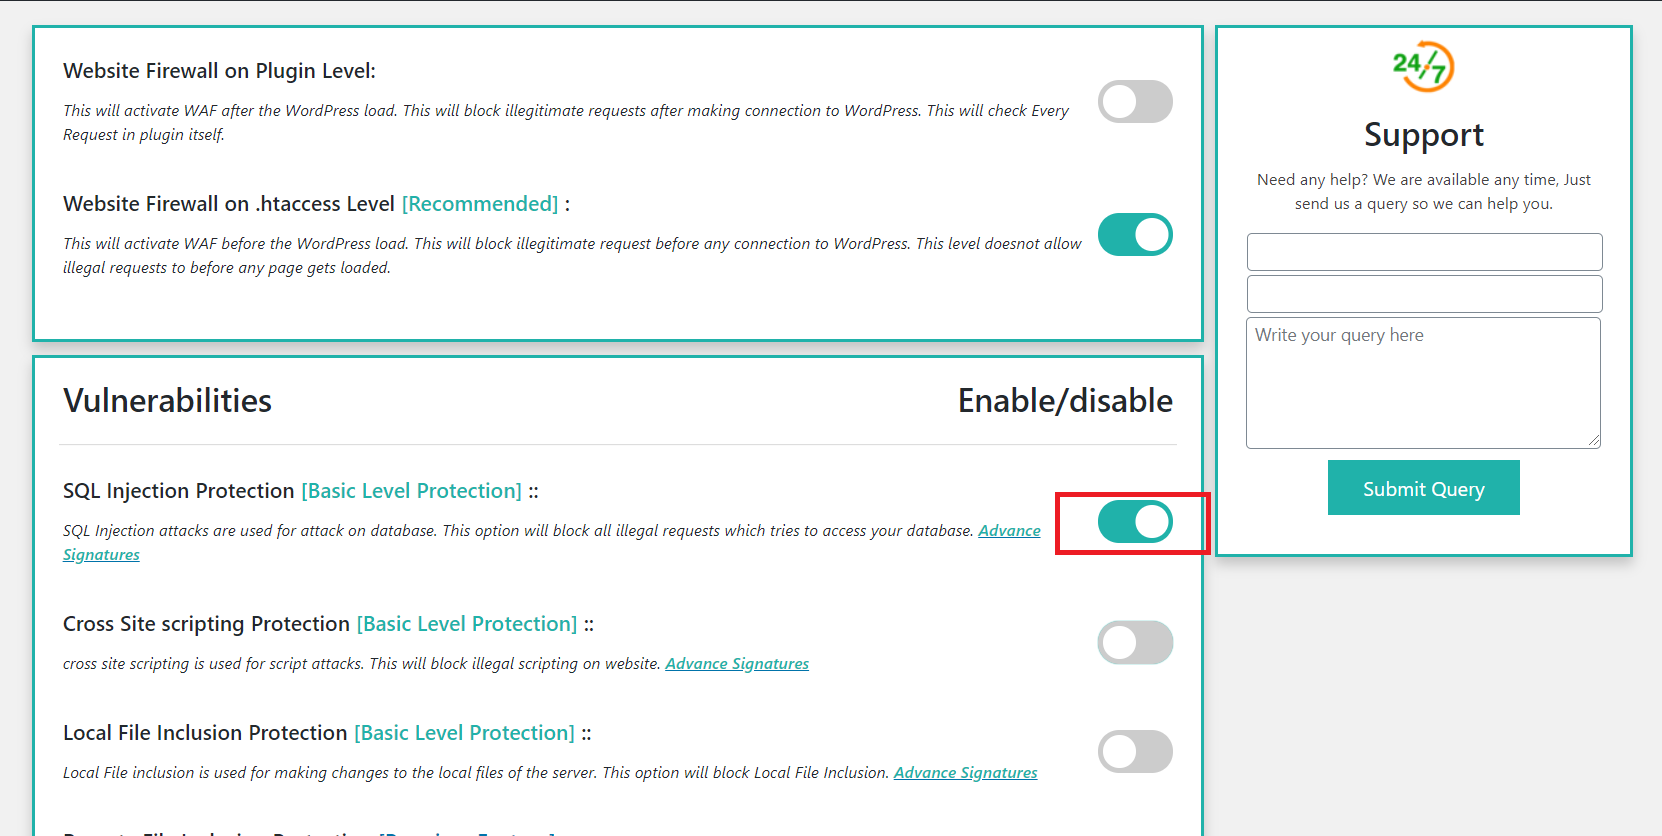
SQL Injection Protection
From plugin dashboard go to the Firewall >> Settings and enable SQL injection Protection from the vulnerabilities option.
Improper handling of input fields can lead to this type of attack. Database queries are injected within input fields. Usages of input fields without verification and validation may lead to the attacker gaining access to the database. miniOrange uses SQL injection signatures to filter out SQL injection attacks. Requests matching these signatures will be blocked.
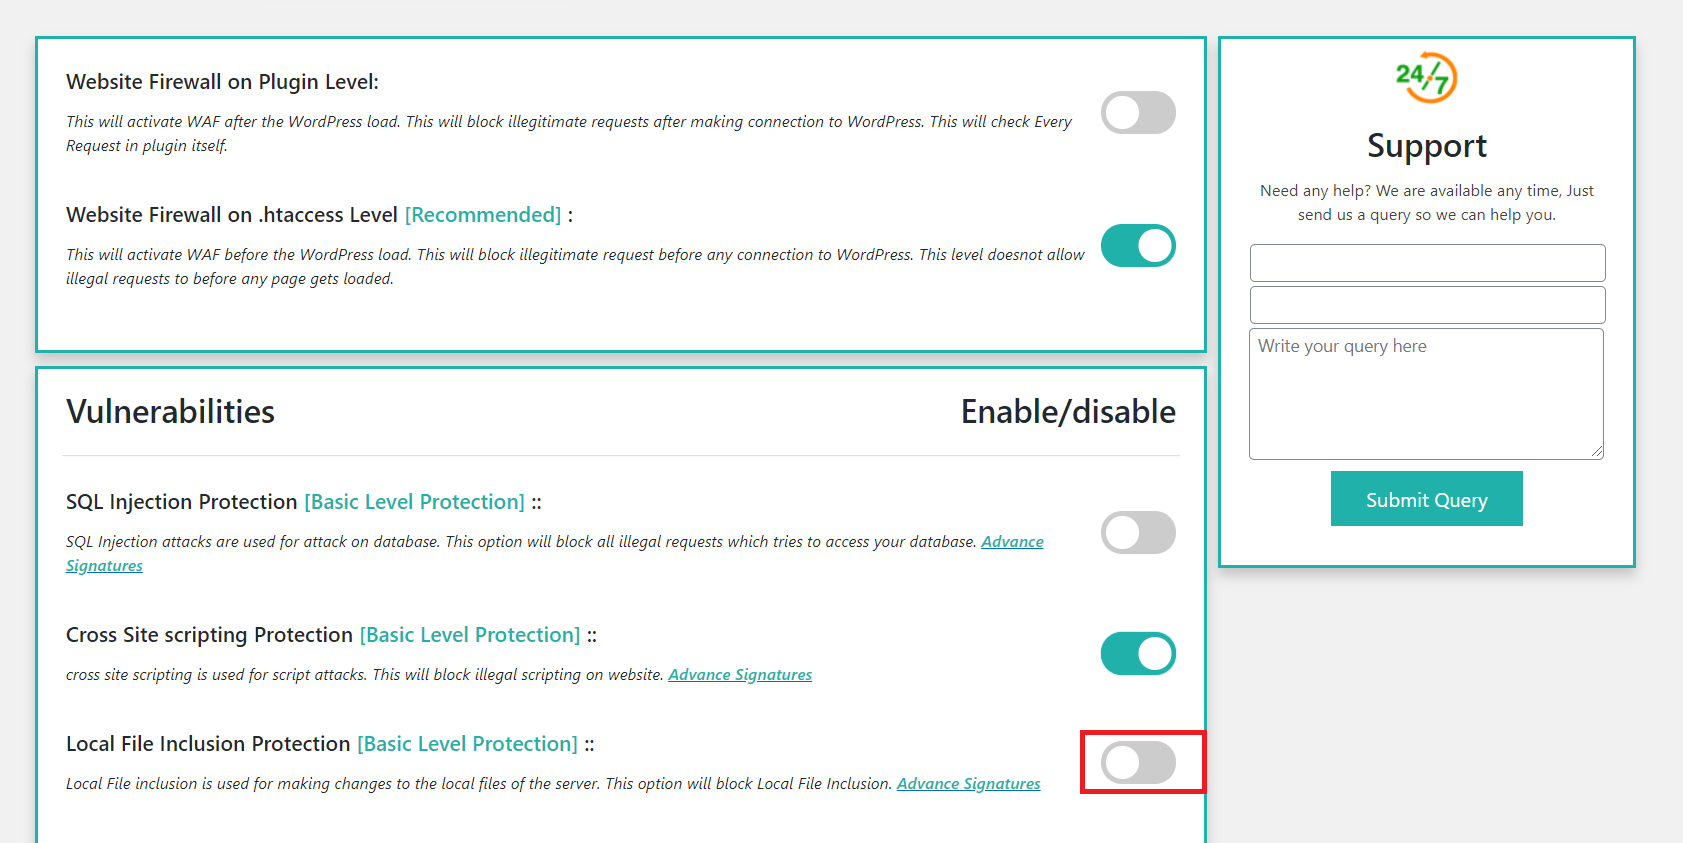
Local File Inclusion Protection
From plugin dashboard go to the Firewall >> Settings and enable Local File Inclusion protection from the vulnerabilities option.
An attacker can use Local File Inclusion to trick the web application into exposing or running files on the web server. An LFI attack may lead to information disclosure, remote code execution, or even Cross-site Scripting (XSS). Typically, LFI occurs when an application uses the path to a file as input. miniOrange uses malicious file name signatures to filter out file inclusion attacks.
Set Attack Limit
Go to Firewall Tab>>Settings Tab and scroll down. Edit the attack limit.
Select the number of attacks after which the attacker's IP will be blocked.

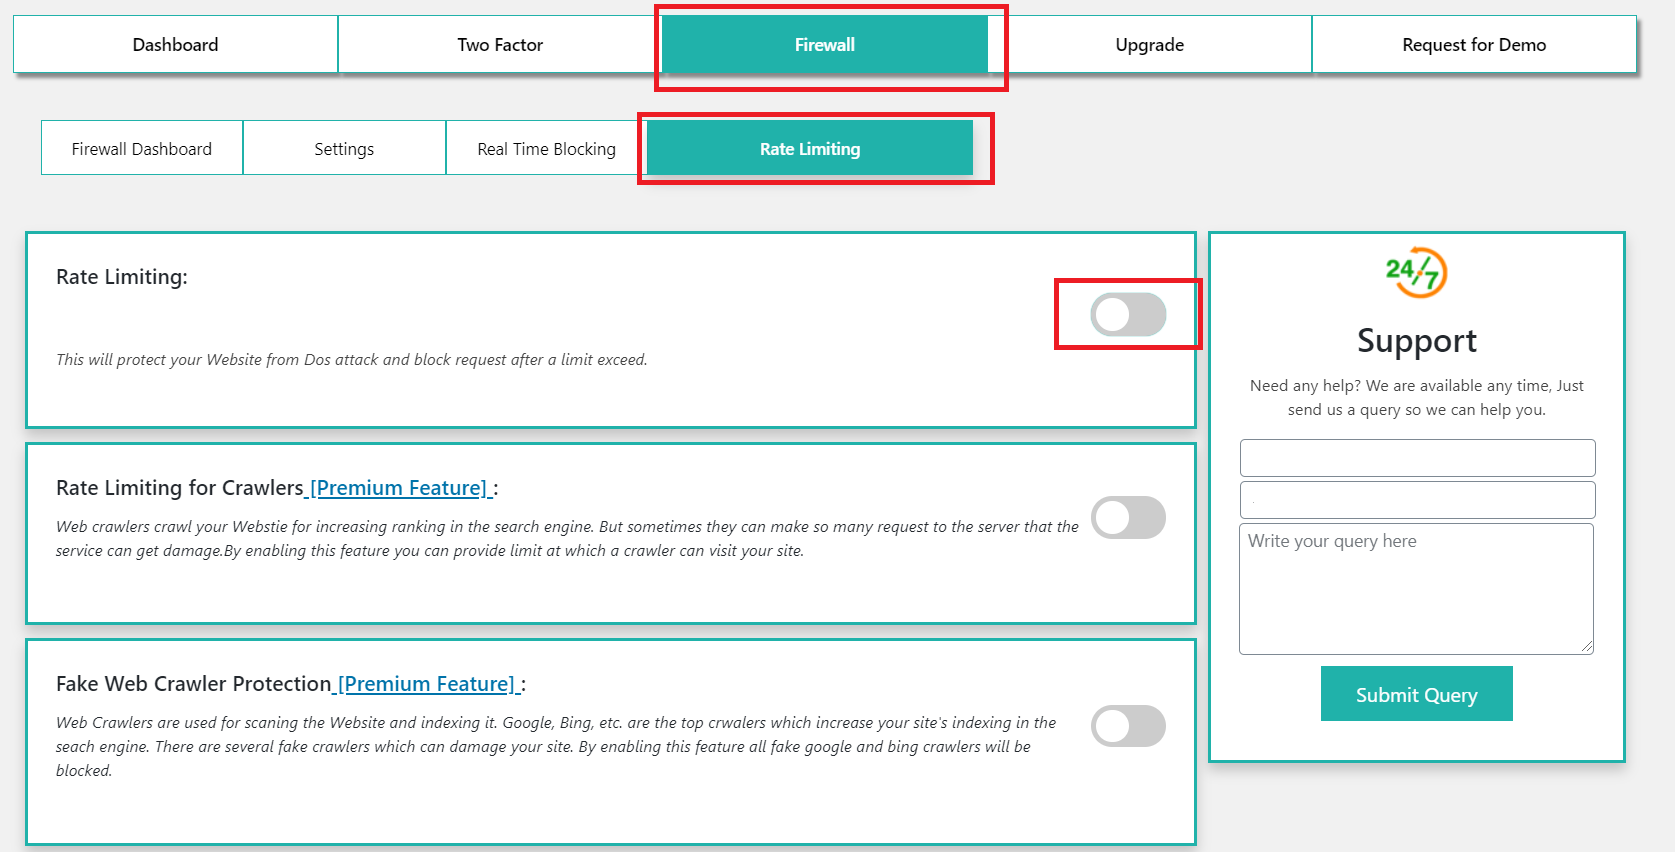
Enable DoS Prevention (Rate Limiting)
From plugin dashboard go to the Firewall >> Rate Limiting and Rate limiting option.
Rate limiting is a feature which protects your site from DoS attacks. DoS attackers send a large amount of requests in a very short period of time. Causing the server to fail while processing these requests. Resulting in your site going down. If an IP exceeds the rate limit it either gets blocked for a duration of time (Throttle IP) or gets blocked permanently(Block IP).
Rate Limiting Settings
1.1 Go to Firewall>>Rate Limiting>> Add the requests/min rate you want to apply.
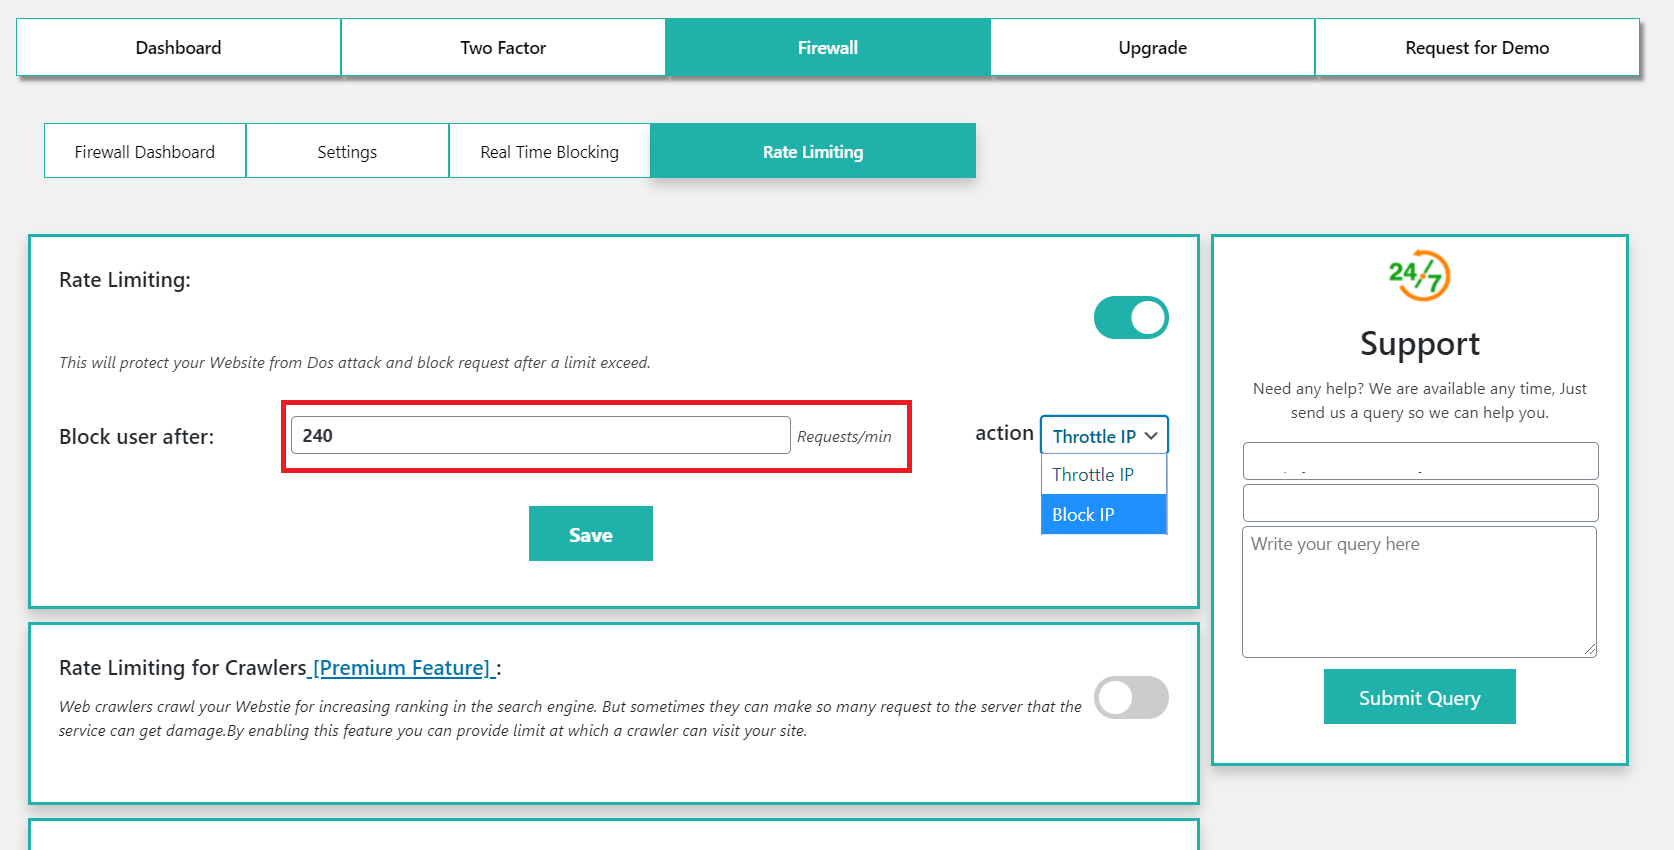
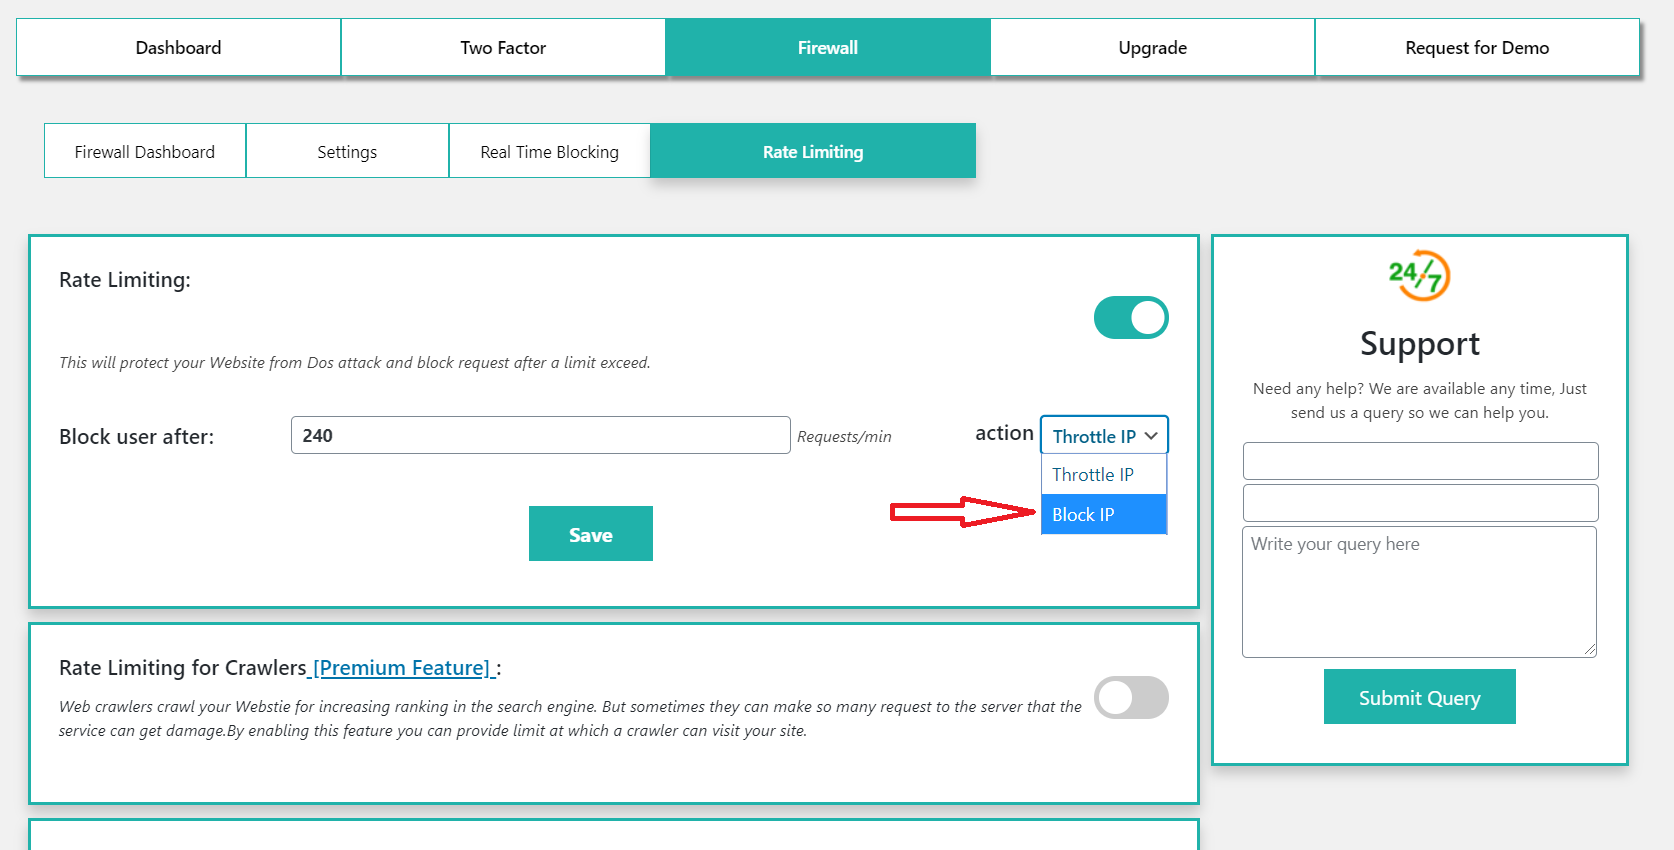
1.2 Select action to be performed on IP which requests exceed requests/min.
- Action - Throttle IP
If the limit exceeds, IP won't be able to access the site for a certain amount of time. - Action - Block IP
If the limit exceeds, IP won't be able to access the site until and unless admin unblock it again.
1.3 Click on Save.